Yesterday I helped the Plant Health and Seeds Inspectorate (PHSI) pick leaves from the orchard to be tested for plum pox virus, so that its spread can be monitored and contained. We picked 24 leaves each from 125 of the 127 trees that constitute the new plum orchard (2 of the trees did not have enough leaves on them to provide a full sample). To avoid cross-contamination of the samples, we used a new pair of gloves for every plant. The picked leaves were sealed in plastic bags and kept in a cool box until they were sent for testing. It was an interesting experience to make, as I had not realised the risks from plum pox before, but I must admit I was slightly uncomfortable with the amount of plastic gloves ending up in the waste bin.
Today, instead, I was helping our fruit specialist with chip budding plums, something I had been looking for. The process does not look too difficult, but of course it's just because it's done by a skilled person.
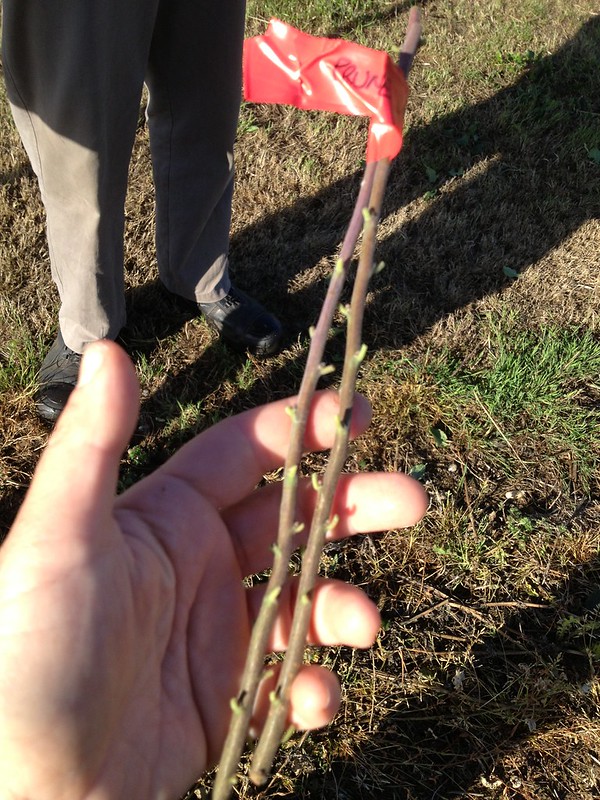
First, one has to collect the bud material: ripe new-year wood that has started changing colour. This is often found on the south facing side of a plant.
The stems are trimmed of the leaves, leaving a small part of the petiole (if we were doing T budding, we would leave a longer piece, as it would serve the purpose of a handle).
They are then labelled and kept in a cool place, preferably wrapped in moist towel until use.
Sometimes one cannot find first year wood, so it is possible to try with second year material (hardened wood).
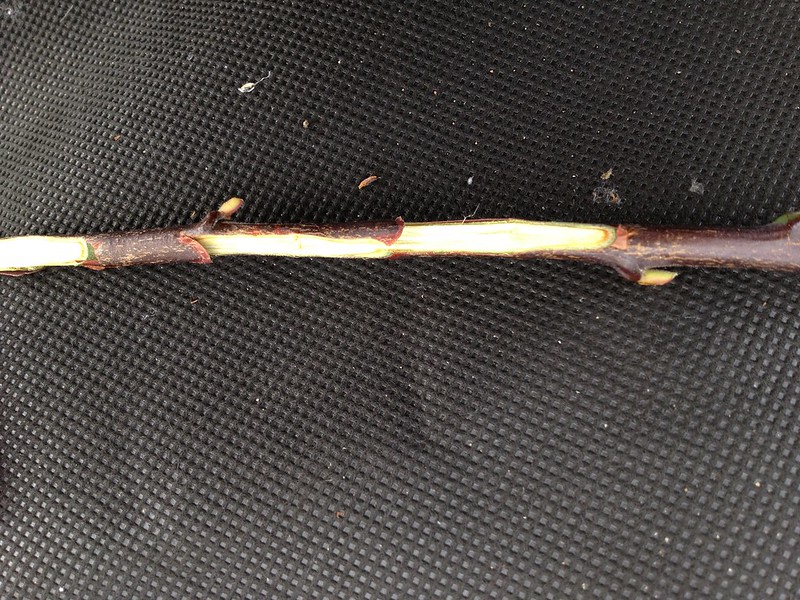 |
| Toe cut (the "lip" on the left), and buds removed |
The buds are removed, one by one, with some 3-4 cm of stem around them: practicing a "toe cut" at the bottom and then sliding the budding knife from the top of the bud down to the toe cut.
It is then the turn of the rootstock, which has to be previously cleared of any side branches at the base for 20-30 cm.
Then, standing astride over the plant,
- on the north side of the main stem (so that the bud straightens up by growing towards the sun),
- at a height of 10-15 cm from the ground to avoid rain splashes (with possible fungal spores) and
- possibly above a node (which will stop the knife from sliding accidentally)
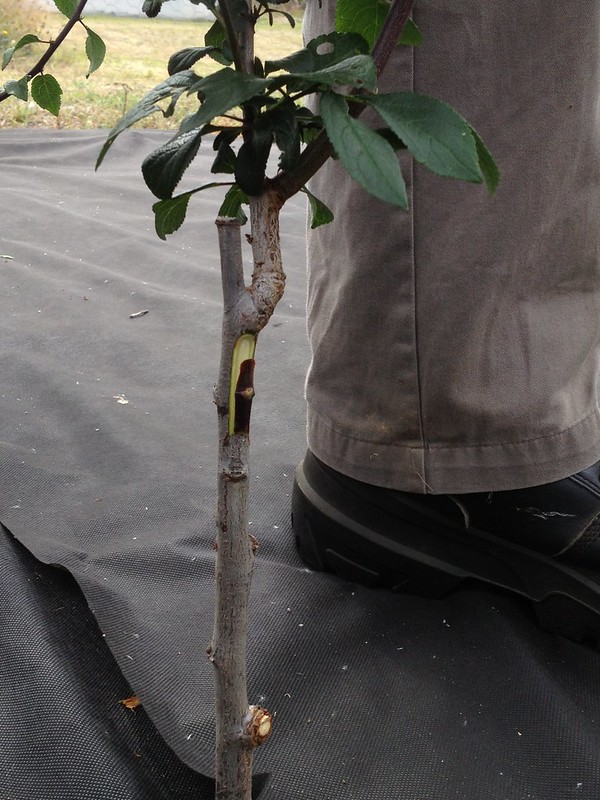 | 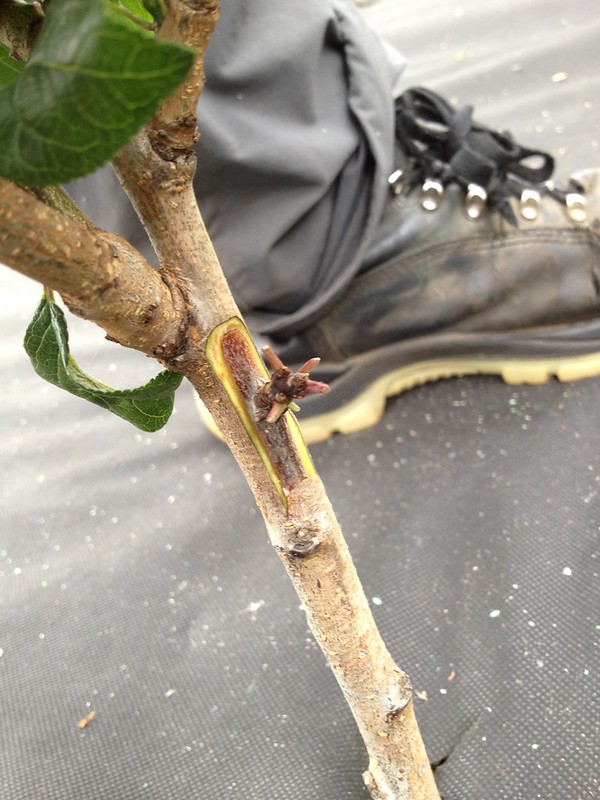 |
| Chip bud with first year bud | Chip bud with second year bud |
 | 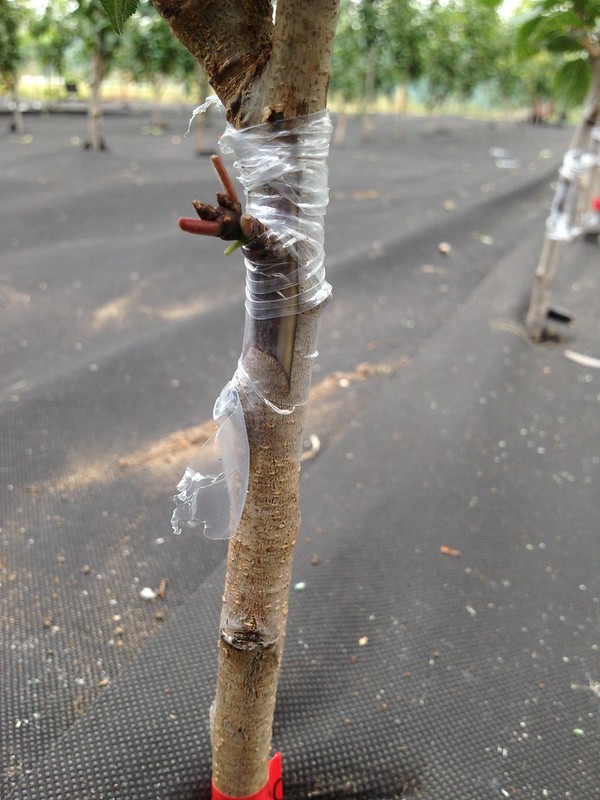 |
| Binding over new-wood bud | Binding around two year old bud |
I was in charge of the binding, and we went through some 90 rootstocks!
The tape will be on for 4-6 weeks until callusing of the wound is well underway. The fronds of the rootstock will be left on the whole season; cutting back will only take place next year in February (late February for apples), just when the sap start to rise, but before the pull is too strong, which may "flood" the bud and kill it.