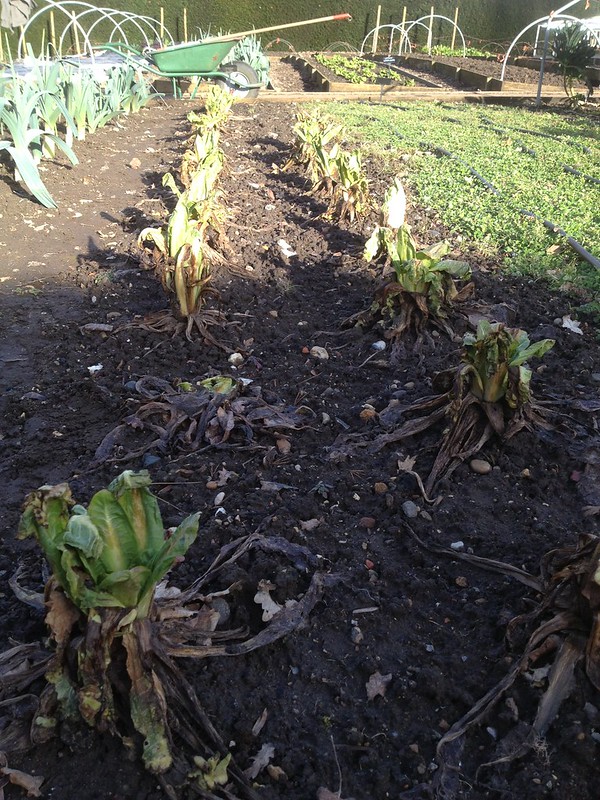
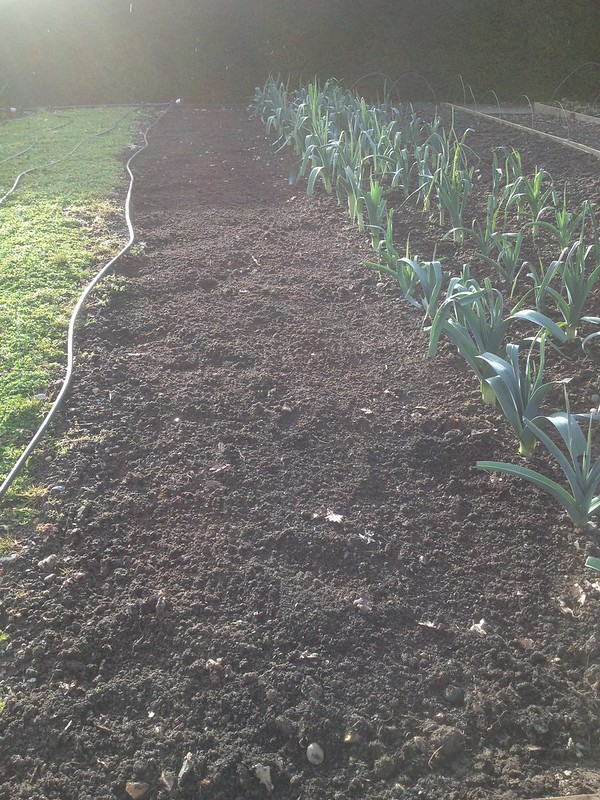
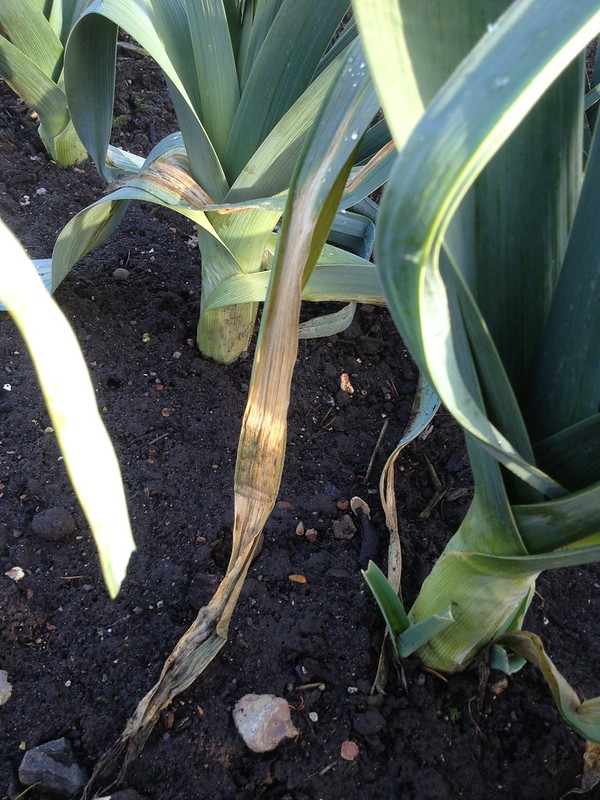
After my rather demoralising experience with
the rambling rose, I was looking forward our rose pruning masterclass today.
Different types of roses need
different pruning regimes to ensure good flowering, and we had a go with the four different types below. In general, when rose pruning, one aims at creating an open centred shrub to ensure air circulation, in particular as rose are prone to fungal diseases such as
powdery mildew (Podosphaera pannosa),
blackspot (Diplocarpon rosae) and
rust (Phragmidium tuberculatum). Also, as always in pruning, one aims to remove all dead, diseased and damaged material, to operate with clean and sharp tools, and to clean up around the plants so that debris and leaf litter does not harbour pest and diseases.
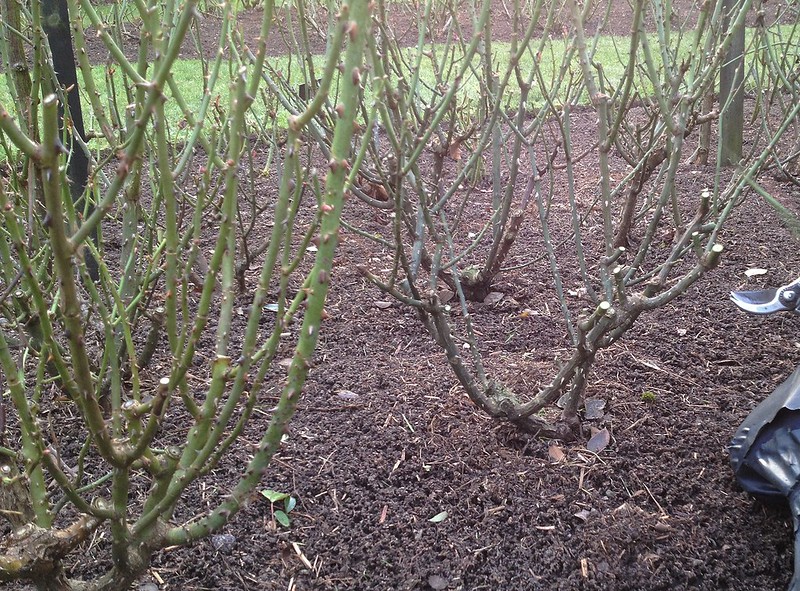
Hybrid teas
The roses with one flower per stem, flowering best on new wood, these can be cut back the hardest to
ensure new strong growth. They may repeat flower in flushes, usually three per year.
Stems are cut down to secateur's length from soil level (which generally means 4 to 6 buds from the ground), at a suitable outward facing bud (although if no bud are visible sometimes a cut is made anyway at a suitable height in the hope of a bud emerging later on. This might lead to dieback).
The frame of the plant is generally formed by 4-5 healthy stems, so older wood may be removed right to the ground. Any weaker shoots are pruned back to 2-4 buds, to try and strengthen them.
Floribundas
Like hybrid teas, floribundas arepeat-flower on new wood. They flower in clusters, and continuously throughout the summer.
They are pruned back in a similar way to hybrid teas, but the framework of the plant is kept higher up from the ground, about 2 secateur's length, or 6-8 buds from the ground. Also, more stems are retained: six to eight.
Standard roses
The aim was to keep a lollipop shape, round rather than flat at the top, to create which one starts working the stems on the sides, shortening them to two or three buds from last year's growth, then gradually moving towards the top.
The same rules apply as if the stems were growing in the ground, but they are not cut back as hard so more stems are left, as hard pruning may encourage suckers in the rootstock that provides the stem. Equally though one has to make sure they do not get too top heavy and snap or fall over.
 |  |
| Before | After |
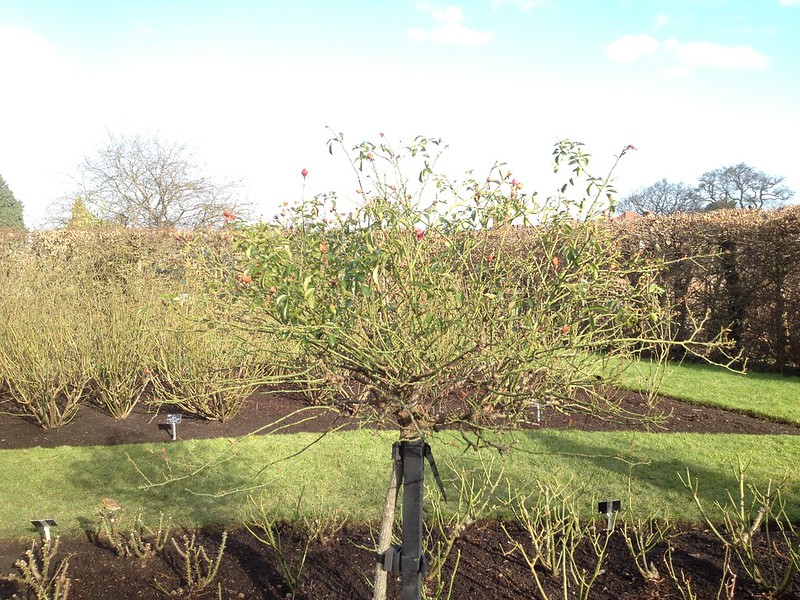
Modern shrubs
Old shrub roses, like species roses, are best left to themselves, as they flower on older wood, and they only need occasional renovating by cutting the oldest wood back to the ground.
Modern shrubs or English roses, however, depending on their vigour, can be cut back about one third to half, in a domed shape to obtain a fullly-furnished flowering plant. As always, a portion of older wood needs to be removed from the ground, to keep the plant open centred and to generate a constant supply of new wood.
Reading rose labels
If you come and visit RHS Garden Wisley and find yoursefl wondering how to identify the roses you are looking at: it's all on the label!
 |
| Rose label at RHS Garden Wisley |
The first line (top left) tells you the year of accessioning into the collection
The second line (top left) and third line (centre) are the family and genus, which are the same for all roses of course
The fourth line (centre) is the trading name of the rose
The fifth line (centre, in inverted commas) is the breeder's name of the rose, with the first 3 letters being the breeder's code.
The sixth line (bottom left) tells you what type of rose it is: HT stands for hybrid tea, F for floribunda, S for shrub and so on