|
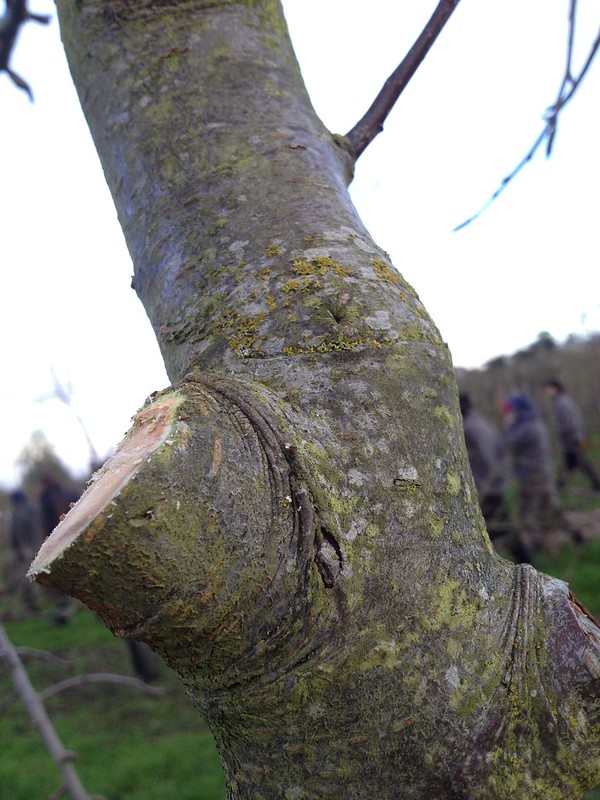
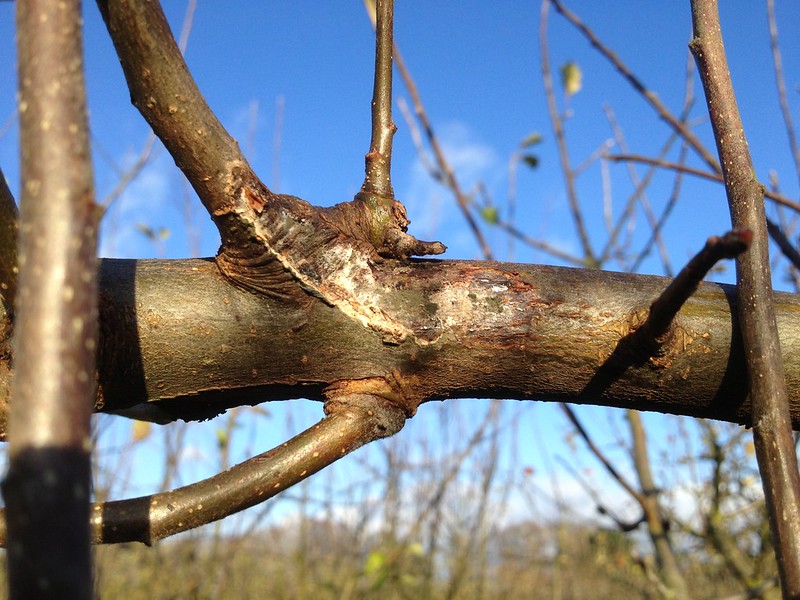
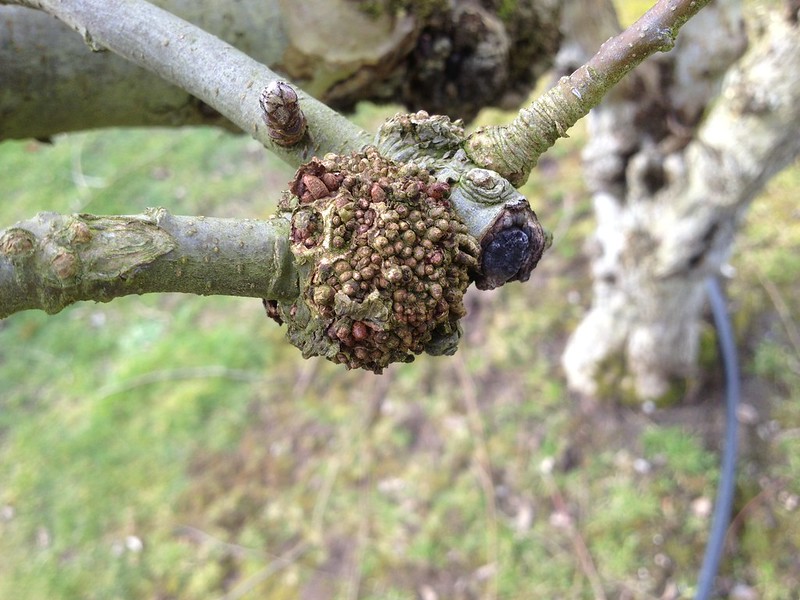
| Sizeable canker on an apple tree |
It's apple pruning season, and you know why? Because the fruits have gone (so no knocking about) and the leaves are down so you can see the shape of the tree more clearly! Otherwise, apples are pretty tolerant of pruning at any time between leaf fall and bud burst, although you want to avoid rainy periods to prevent the spread of
canker-causing fungus Neonectria galligena which compromises and eventually girdles a branch.
 |
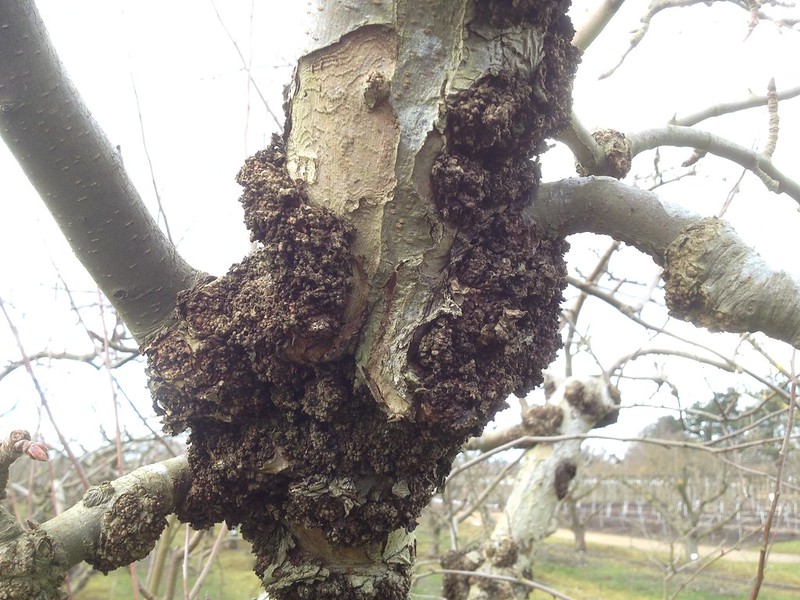
| Bark infected by rotting apple |
Incidentally, canker is also triggered by infection to the bark that rotting apples left on the tree do, so any discoloured areas need pruning off if found!
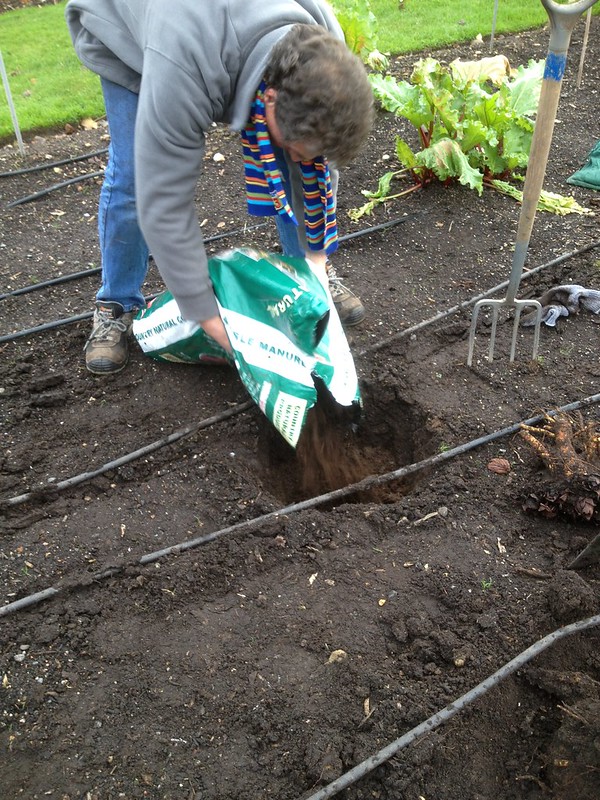
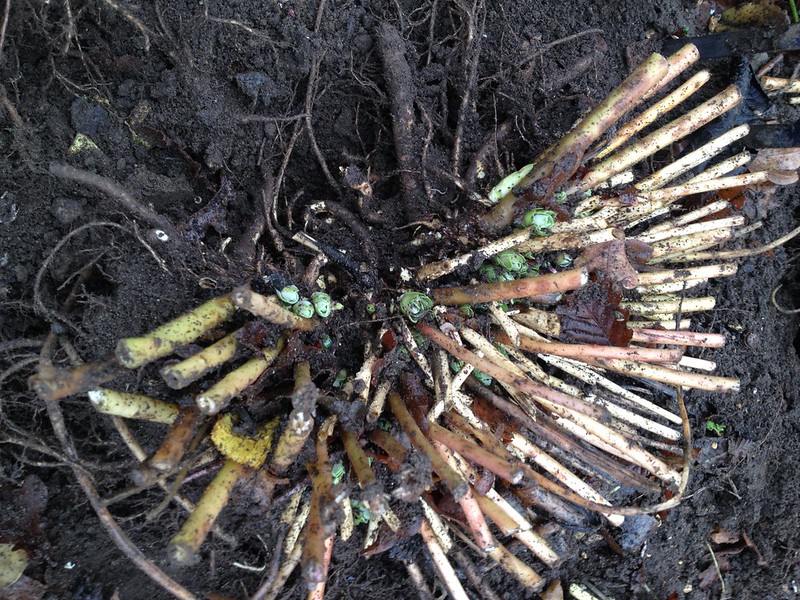
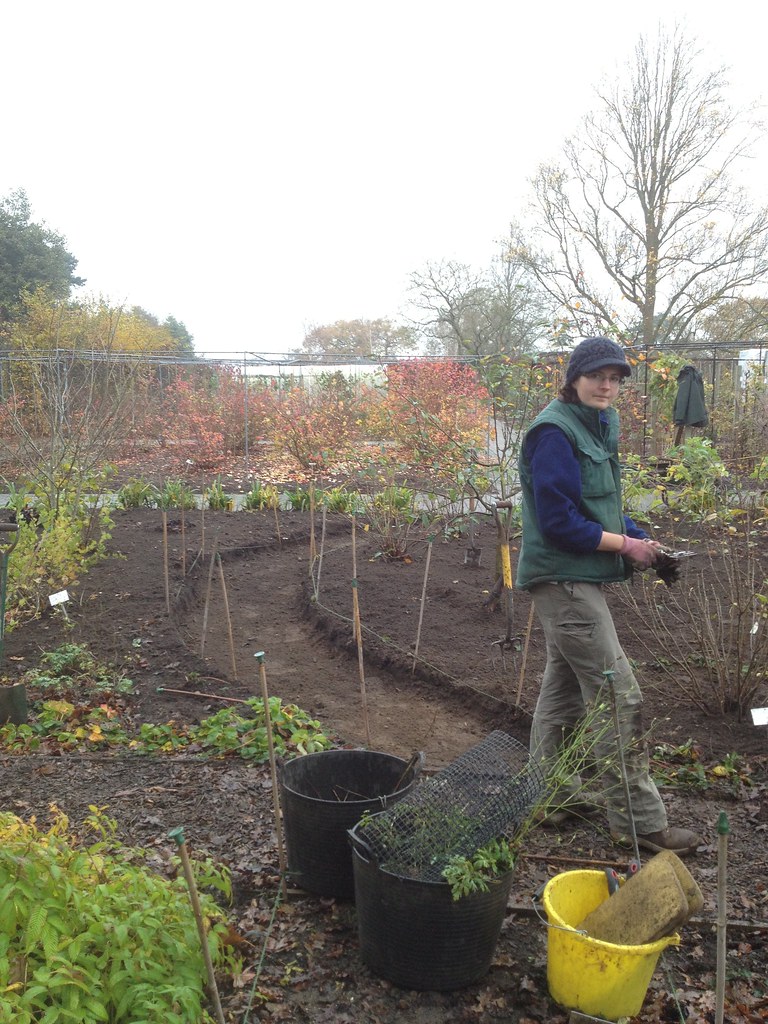
But the pruning training today started with a visit to our
nursery, where we propagate our own trees and grow clonal rootstock by stooling, which is then grown on for one more year before it's grafted (whip and tongue, in the spring) or budded (in the summer, then cut back the following spring).
Rootstocks
Apples do not come true from seed, so apple trees are born as grafted cuttings or budded buds on a range of rootstocks that ensure
- restricted growth (for smaller gardens, and smaller spaces and to make fruit more accessible for picking)
- earlier fruiting (presumably because the energy of the plant doesn't go into vegetative growth, being restricted)
- some disease resistance (as rootstocks may be tougher than cultivars, which are chosen for flavour and looks of the fruits)
The simples description of rootstocks I found on
Reads Nursery website, but there are other useful ones, like the
Aeron Vale Allotment Society's. Rootstocks take the name of the research stations where they were first studied (M for East Malling, MM for the East Malling/Merton partnership) and a number, which bear no relations to the size of the tree. The most common being:
- M25 full size, generally used for standard trees (cider apples)
- MM106 semi-vigorous, we use it for bush trees in the orchard (where it replaced M7, which was more winter hardy but suckered profusely)
- M9/M26 (for containers) dwarfing
- M27 the most dwarfing
Pears have different rootstocks to apples, in the UK this being quince (
Cydonia oblonga) such as semi-vigorous "Quince A" or dwarfing "Quince C"; because not all pear varieties are compatible with pears, they may be on an interstock too (quince rootstock/pear cultivar as interstock/pear cultivar as scion). For bigger trees there is a "Pyrodwarf" stock which is
Pyrus and as such does not need interstock. Apple rootstock can be used for pears too, with an interstock of cultivar 'Winter Banana', which is compatible (I noticed it in the orchard as it is very prone to
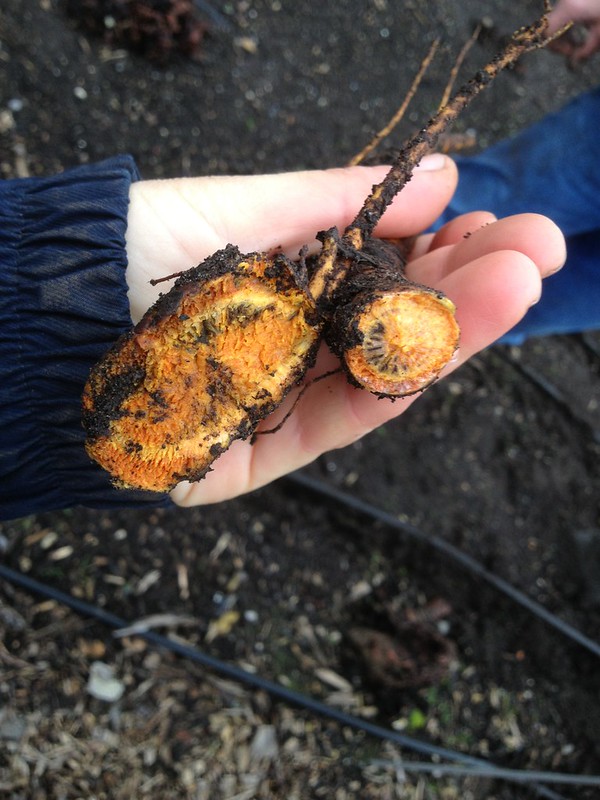
burr knots... which, by the way, are the initial of aerial roots, and can be planted).
 |
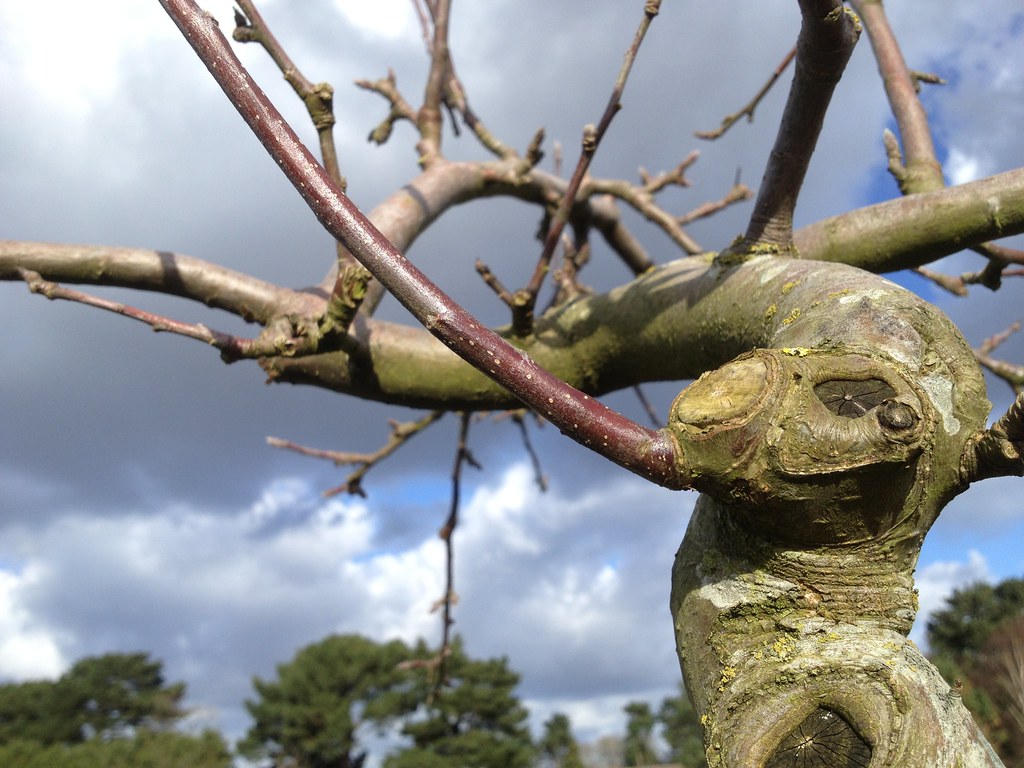
| A burr knot |
 |  |
| Section of a burr knott | Malus 'Winter Banana'
trunk covered in burr knots |
Depending on which rootstock you choose, you can train your tree - by pruning it- in different ways: for apples, with M27 you can have stepovers, M9 is for spindles (more on this later) and cordons,
from M26 you can train as espaliers... For pears, you will have "Quince C" for spindles, "Quince A" for bush and so on...
Formative pruning
Pruning is essential from the beginning in the life of a tree: initially, as formative pruning (for the first three years) it needs to be ruthless, to provide a strong framework of fruiting branches in the desired shape.
A maiden whip is a new tree, that, having been grafted, at one year old has not sideshoots. If a maiden tree has sideshoots, it is called a feathered maiden.
All pruning starts with a maiden. You prune it at about 75 cm for a bush, 1.5 m for a half standard, 2 m for a standard tree. The exact height depends where suitable buds are situated on the specific tree.
With an unfeathered maiden, you cut at the suitable height, making sure there are at least 4 buds below the cut, from which 3-5 branches will develop for your framework. You may want to nick under the uppermost bud so it does not grow too vertical and vigorous (
more here, unless, of course, you are going for a shape that requires a central leader).
Pruning an unfeathered maiden for bush tree, year 1, a video
With a feather maiden, it's like you were a year ahead of an unfeathered maiden, as you already have branches. You cut off all lower shoots, leaving 4-5 well placed branches at the required height, then cutting the leader above the uppermost of those. Because those branches would end in flower buds, but you still need to create the framework, you tip them: if long, you prune back all the way to 1/3 to a desirably placed, outward or upward bud to promote strong growth. This is also what you would do in the second year of an unfeathered maiden
(except the leader part, because you have removed that already in the
first year)
Pruning for bush tree, feathered maiden year 1/unfeathered maiden year 2, a video
The next year (third for an unfeathered maiden, second for a feathered one) you cut back the framework branches about 1/3 to 1/2, to a suitable outward facing bud.
Pruning for bush tree, feathered maiden year 2/unfeathered maiden year 3, a video
Slightly different procedures apply to spindle bushes, in which you want a kinky leader (to slow growth) and a flat layer of branches. Different procedures apply for trained trees (cordons, stepovers, espaliers). The principles are however the same.
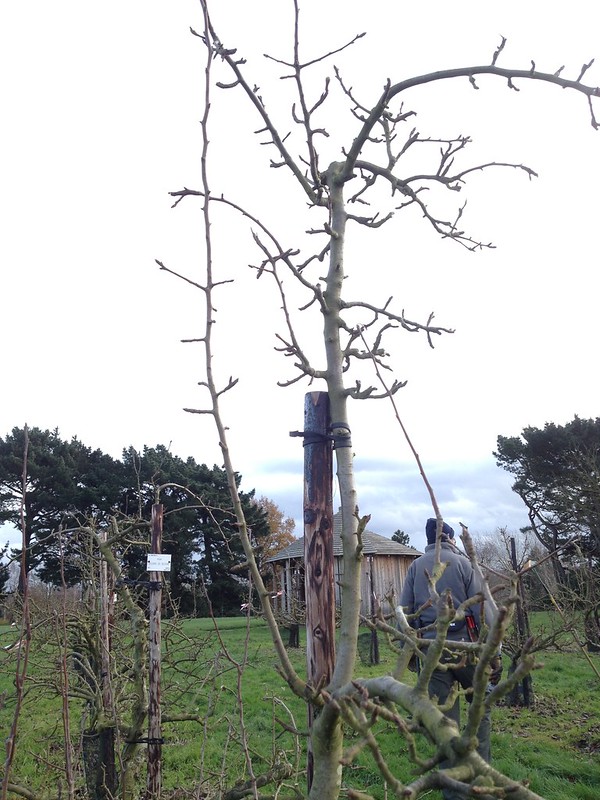
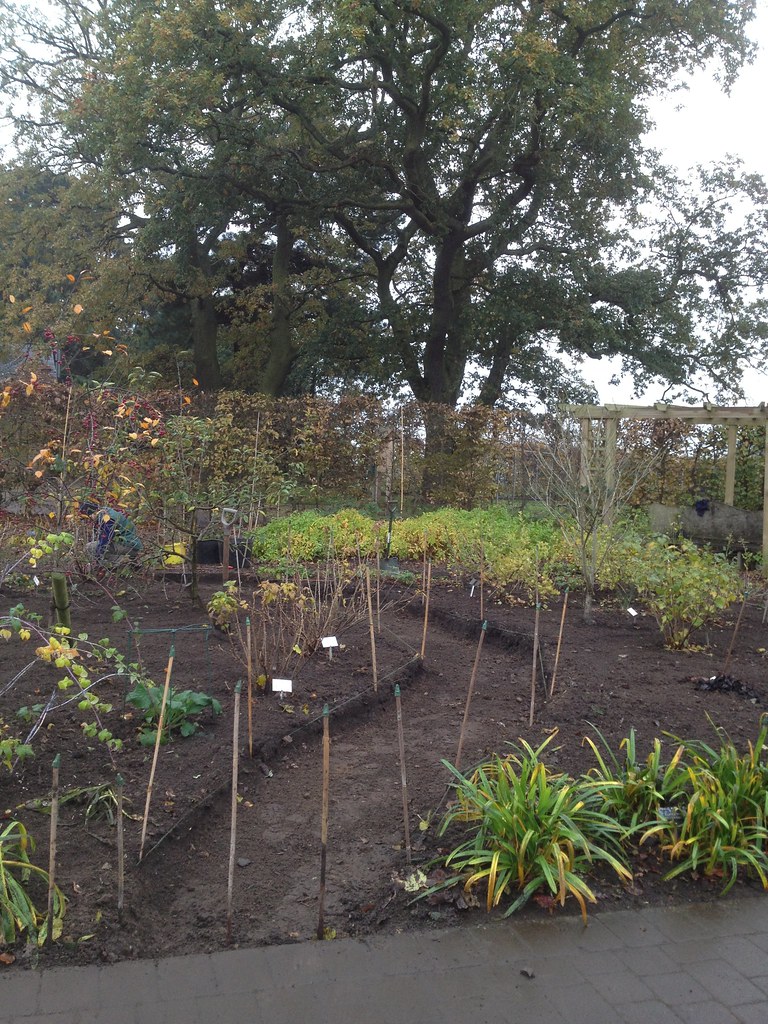
In the orchard, we found some example of newly planted trees, at this latest stage, which show how variable the framework may look and that every tree need individual consideration.
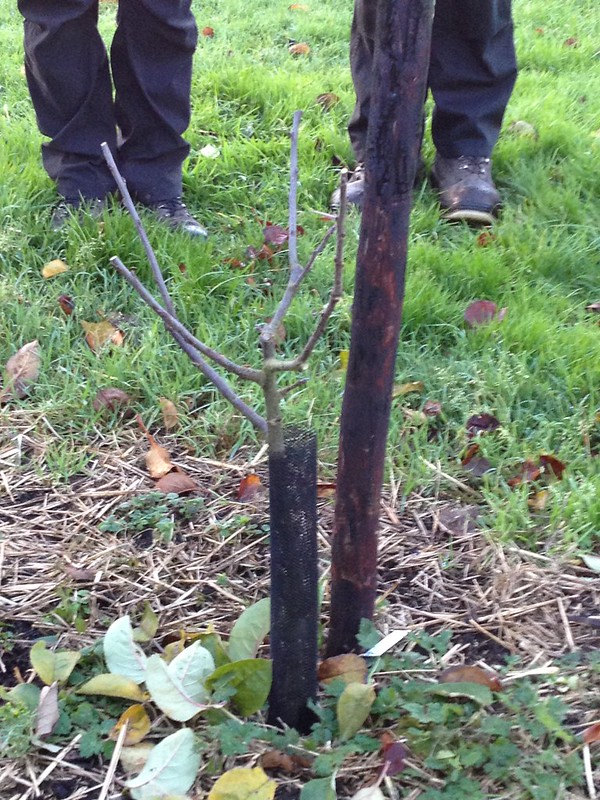 |  |
| A nice goblet shape | Tree with very upright growth,
needs opening up further |
Regulatory and renovation pruning
Subsequently, you get into a regime of
regulatory pruning: removing
dead, damaged and diseased wood, crossing branches, and you control the
height and spread of a plant, allowing air through (to prevent disease)
and sunshine (to ripen the fruits).
What one is after is
regular crops of good fruits of a good size: the level of fruiting can be helped to
be more constant over time (otherwise some cultivars tend to go
biennial, recovering one year from the effort of producing plenty of
fruit the previous one by not fruiting much). But remember: fruit is the best growth regulator! Too much pruning and
bud not set, and all the energy goes into vegetative growth: 20-25% is the maximum you should take out!
We do not do spur pruning any more (cutting back new year's growth to a bud, or a branch to a spur - with some exceptions): cutting back whole branches and whole limbs is the
current best practice. The reason why every so often one needs to take out a full limb is that fruit
bearing wood needs
renovating, and when some branches get too old and uproductive, they need to go and be replaced by suitable new ones.
Botanical pruning as I have known it is normally quite an arduous job as you have to keep in mind the natural shape of the plant and prune it accordingly. Restoration pruning of a community orchard responded to very similar principles. But regulatory pruning in a working orchard, semi commercial, I found rather confusing today. The principles to keep in mind are several.
First, the shape of the tree. But, then, also its height, for the pickers, and its width, so that tractors have a clear path to do the fertilising and spraying. Then it's the weight of the fruit, and the amount (see spur thinning).
Some of the trees, especially the ones that have been pruned hard and are predisposed to this behaviour, may respond by throwing out plenty of new shoots, that go to crowd the canopy, and especially the centre of the tree, favouring the spread of mildew.
 |
| A mildew-y branch tip |
Althought the temptation is to cut them all out, the same rule as the rest of the wood apply: never take more than 1/3! Taking the weak and the strong, and going for the mid-way, is the best approach.
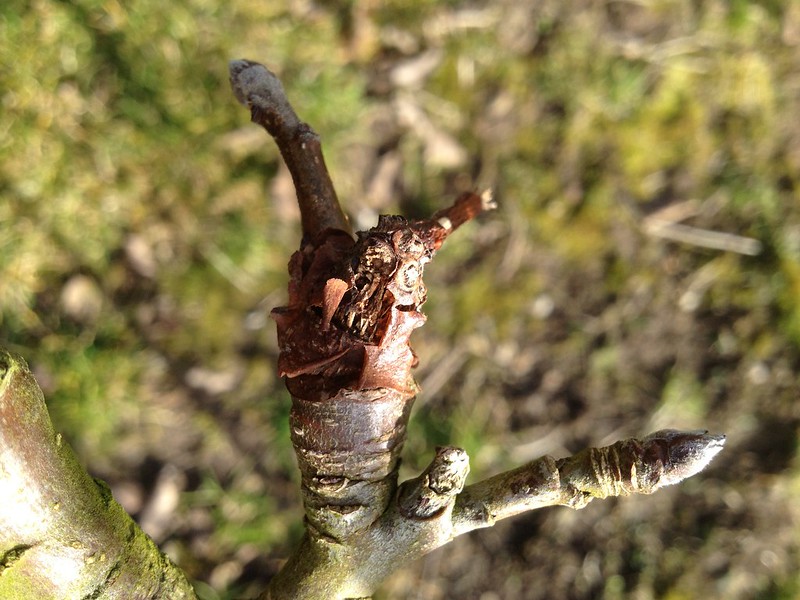
 |
| Mildew bursting a bud |
And of course one needs to take all of the
mildew-y branches, to avoid the spread of fungus in the spring, on dry days. Mildew makes branches look silvery in the sunshine (more difficult to spot in the rain) with blackened tips and buds. As some apple cultivars have naturally downy new growth, one has to make sure the buds are dead and blackened too.
If branches point down, they tend to be removed, as you tend to get less sugar in the fruit in such conditions.
It was exhausting to try and remember and apply all the principles at once. And the feeling of not quite getting the essence of it mildly depressing. But there will be plenty of time for me to practice over the winter: this will be our main activity, with over 1500 trees!
Spur thinning
Apples come with three main fruiting habits:
- most apples are "spur bearers": they produce fruit buds on two-year-old wood and older; on the latter, fruit buds for on special short, branched stems called spurs
- a handful of apples are "tip bearers": they flower and fruit on the tips of previous year's shoots. These are long branches, so the appearance of the tree is more untidy and sparse
- some trees are "partial tip bearers", so they have some spurs too
 |
| Typical spurs: short branched stems |
Pruning is largely the same for all types of trees, but on tip bearers you have to make sure you don't go to hard on first year wood, which is what will bear flowers and fruits.
Spurs sometimes get congested, which affect the size and quality of the fruit. As a rule, there should be no more than 2 spurs every 10 cm or the gardener's palm's lenght. When there are too many spurs, spur thinning is in order. It is best to take out a whole spur then fiddle about with individual fruit buds on it.
Restoration pruning
When a tree/orchard has been left to its own devices for a while, and cropping has been impacted, one should not give up: it can still be brought back! I have done some
restoration pruning before and we did not dwell on this much, but the main rule is: don't do it all in one go...
Restoration needs to be spread over a few years, one suggested plan was:
- taking care of dead, diseased and crossing branches in the 1st year
- dealing with height in the 2nd year
- sorting the spacing of branches in the 3rd year.
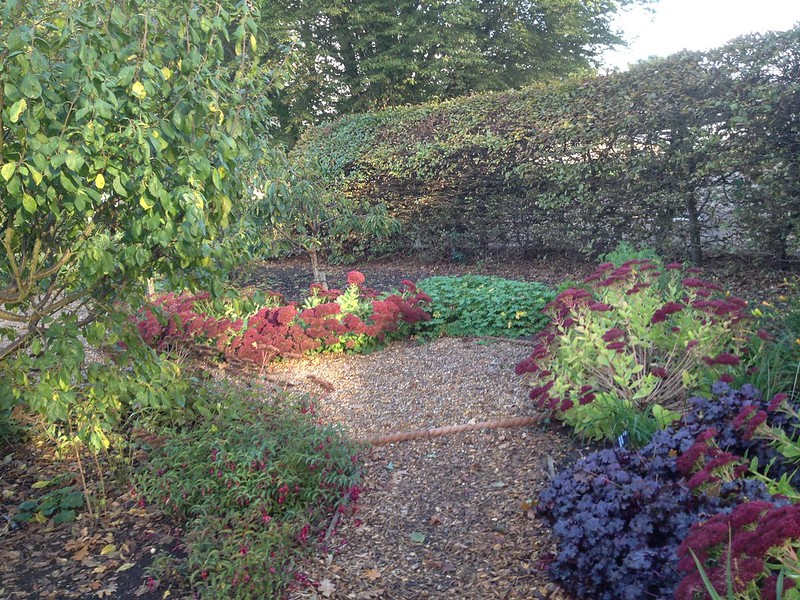
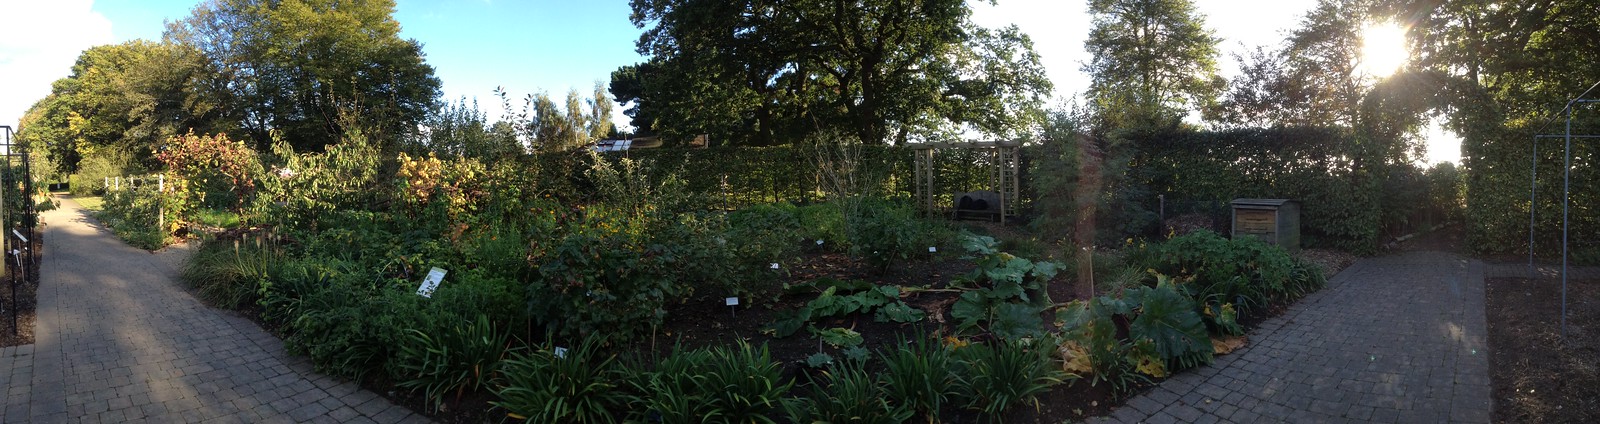
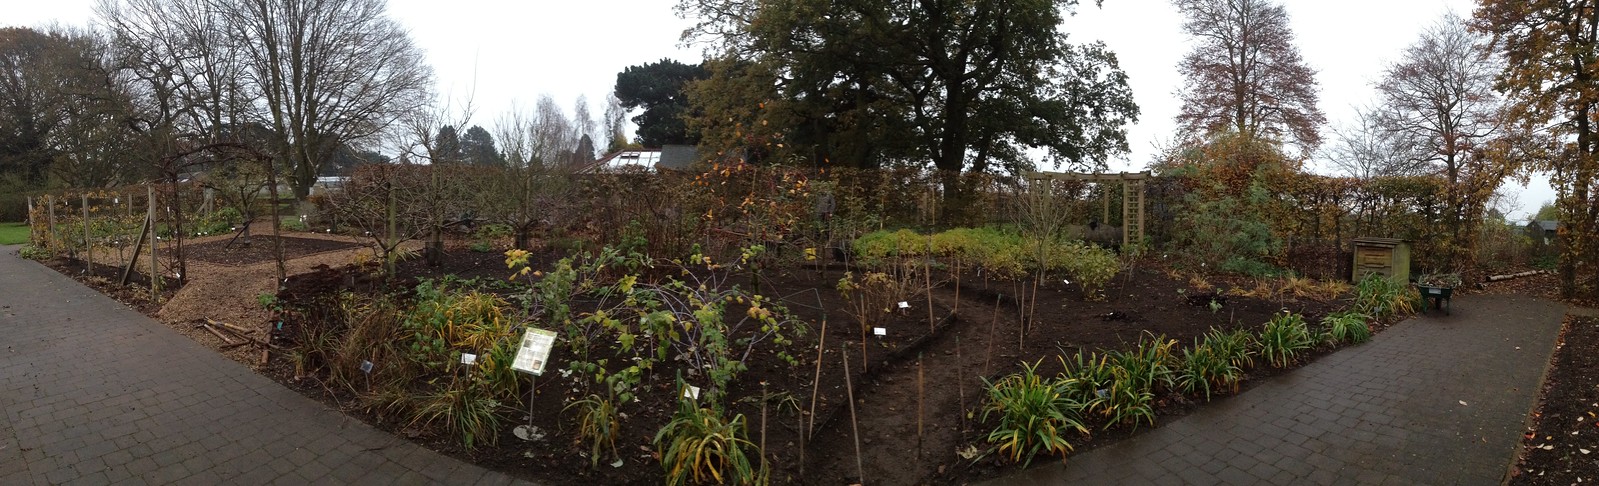
Orchards are magical places...
Fast forward to the 4th of February 2015, a whole winter spent pruning apple bushes...
/Working in a group, each one trundling along our own row, I start tackling a rather impressive tree, no care in the world, having finally (yet not long ago) felt I have grasped the whole picture, when my colleagues stops me: "That's the most difficult tree in the orchard, it needs removing only a few, large limbs, I'll call Jim!"
So, all around the "Duck's Bill", us colleagues and the fruit expert, discuss which limbs must go and for which reasons, something I've always enjoyed doing at the Urban Orchard Project, but not done much here (there's all those trees to go through!). I get my cuts and reasoning pretty much straight (I told you I grasped it...). I am allowed to get on with the pruning. I enjoy the physical effort greatly.
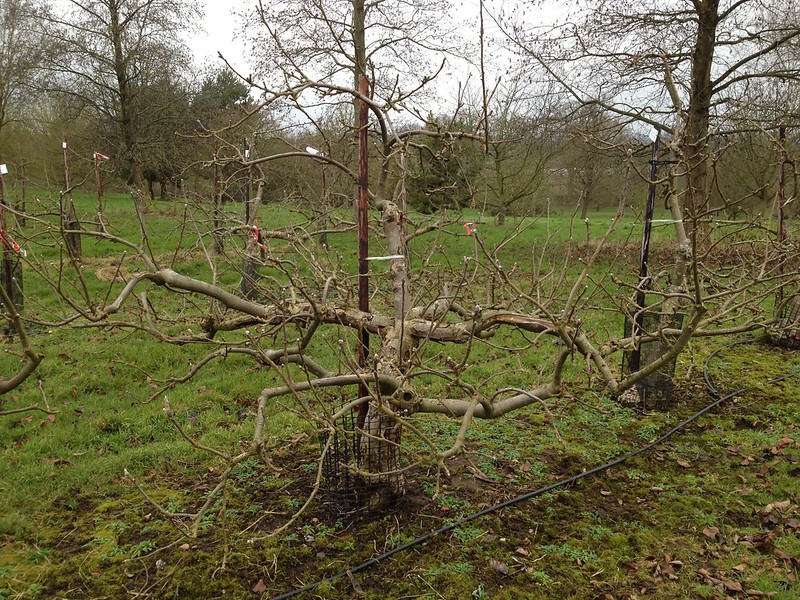
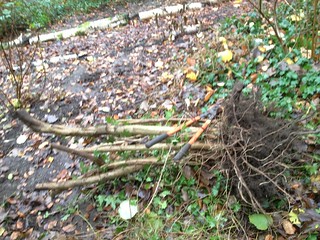
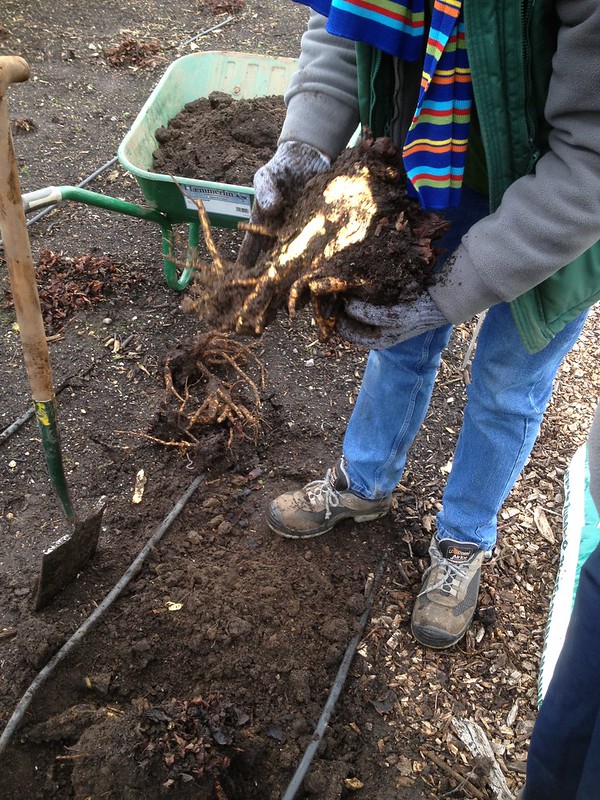
Here you go, I introduce you to the majestic
Malus domestica "Duck's Bill" and its prunings!
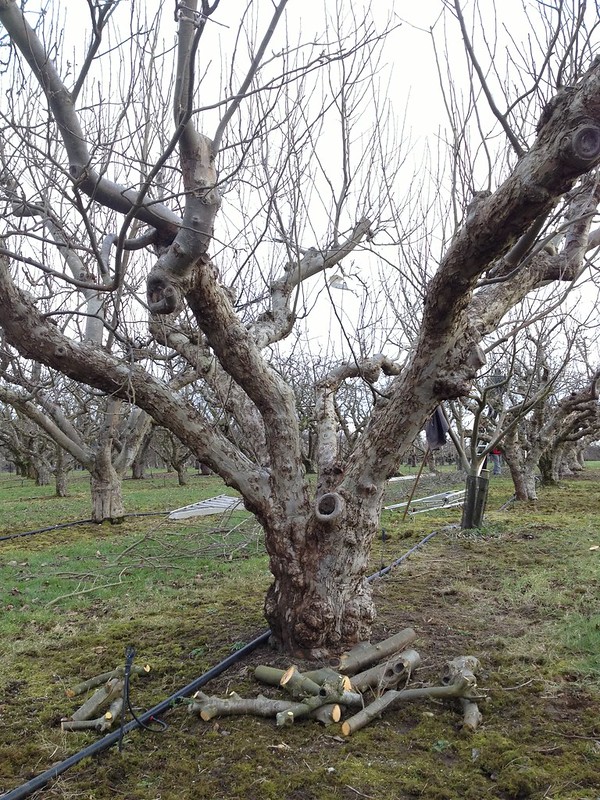 |
| Malus domestica "Duck's Bill" |