 |
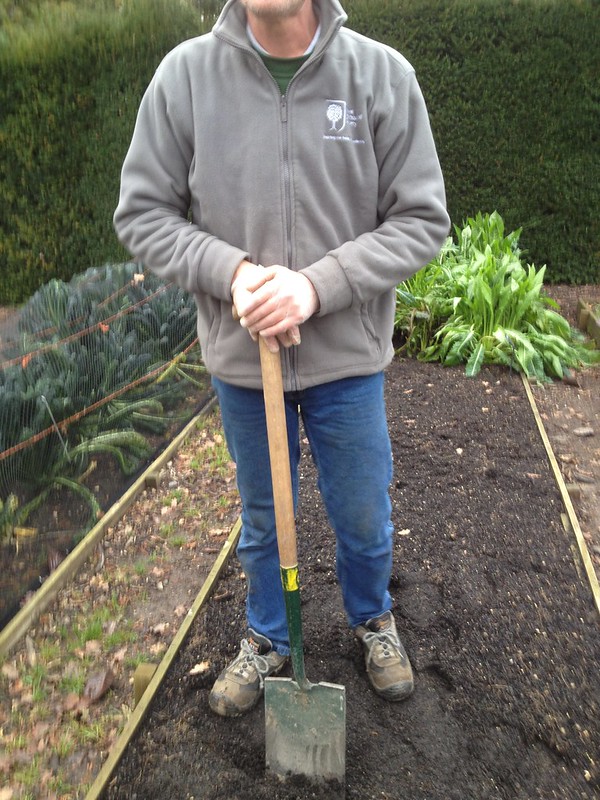
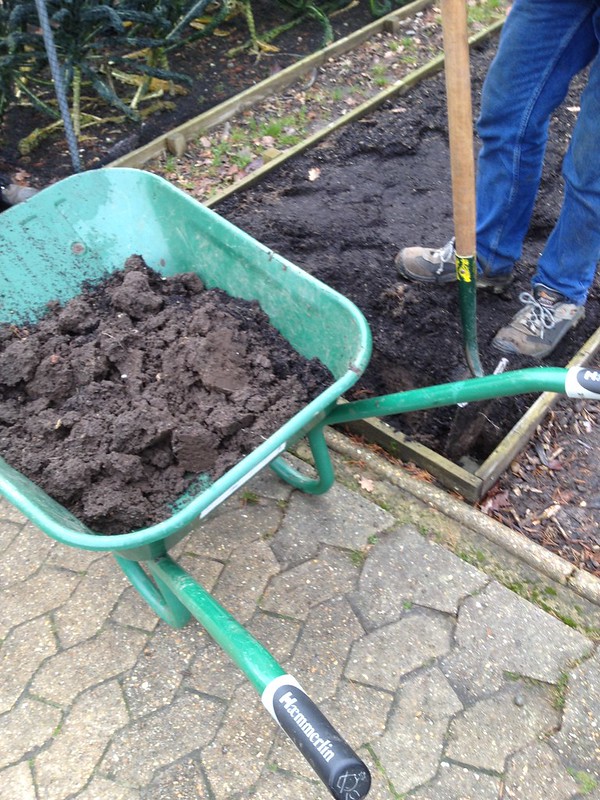
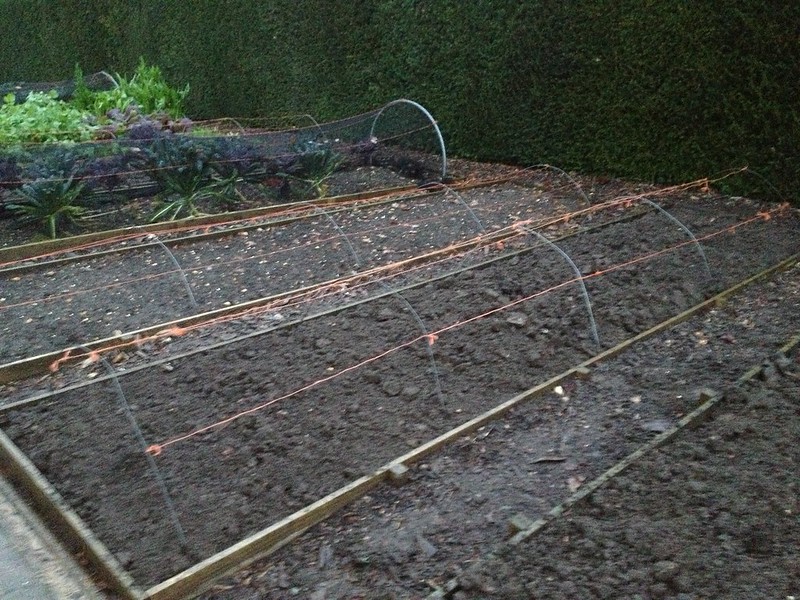
| The fig, ready to go to bed |
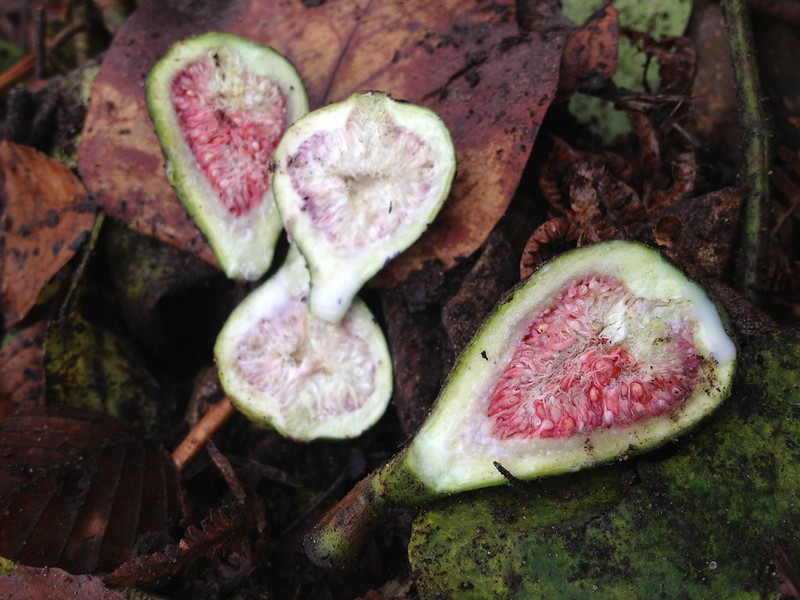 |
| Syconium inflorescence, with inward looking florets and fruits |
Figs (an inflorescence called syconium giving origin to a multiple, accessory fruit) form in the leaf
axils at the tip of new branches, so it is necessary constantly to generate new material through replacement pruning.
 |
| Cutting back to stubs |
This consists in taking back some of the older branches to stubs - the only case (together with Dutch
cuts) where leaving snags after pruning is not frowned upon for plant's health reasons. To preserve the shape of the fan, and keep branches to an appropriate distance of some 10 cm, one also has to cut some branches back to their origin, but one has to make sure to preserve enough branch tips to get fruiting the following summer.
The pruning regime for trained figs also consisted of pinching back new shoots to 5 leaves before the end of June, so they produce shorter sideshoots, that have time to ripen before the frosts.
The fig is planted in a concrete pipe section to restrict growth and improve fruiting (one could use concrete slabs, as I do at home), but roots have a habit to run out on the surface and away, so we did some root pruning too to bring them back. As figs layer quite easily, the lowest branches also needed pulling outof the ground and pruning back where they had rooted.
 |
| The pruned fig |
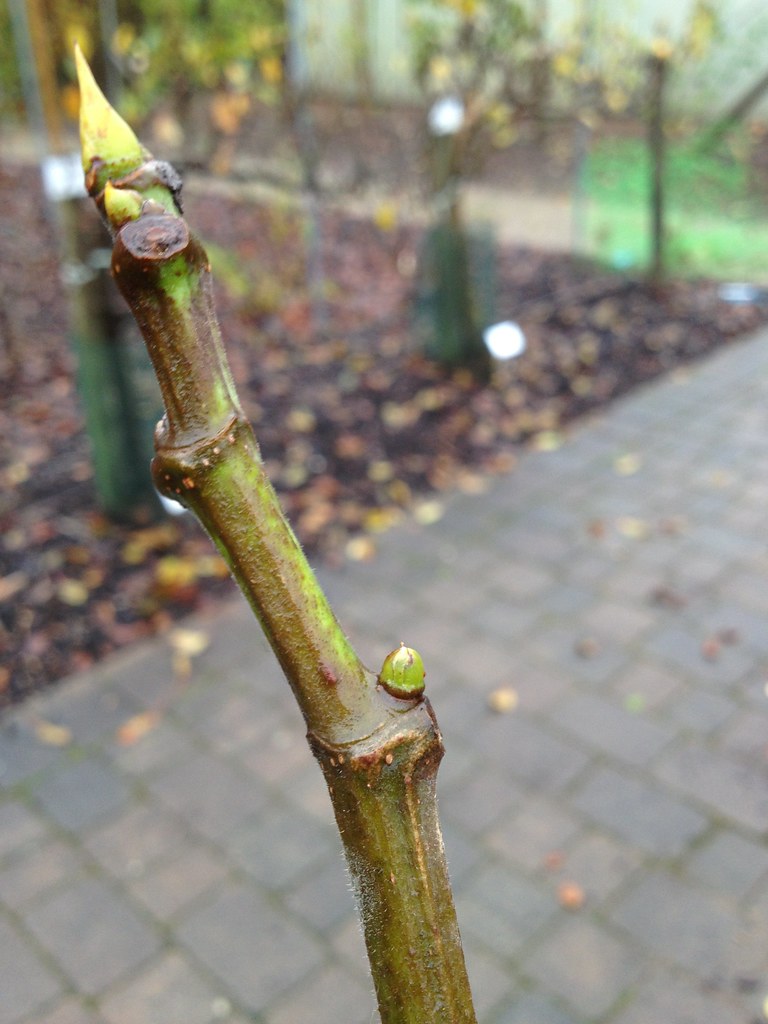 |
| Wood turning mature (still part green) |
So the next step was to cover the tree with bracken, a material that does not soak in water, so helps keep the plant dry as well as warm - it comes with a minor health risk, though, as bracken spores (relased mostly on hot dry days in late summer) may be carcinogenic if inhaled, so one might want to wear a face mask if doing this often.
We train our fig against a screen, so we put bracken between the tree and the frame, and then secured some netting along the whole widtht and height in front of the tree and stuffed bracken in between there too.
There is a best way to stuff bracken by pulling leaflets from the stems (that will be discarded), bunching them up all in the same direction (fronds down) and using them like that, nice and tidy. The reason is so that you can take it out without too much effort in the spring... if you get to take it out, that is! This year we could not do it in spring because a robin nested cosily into it, and we had to wait for the fledglings to leave the nest.
 |  |
| Steps in the covering of the fig | |
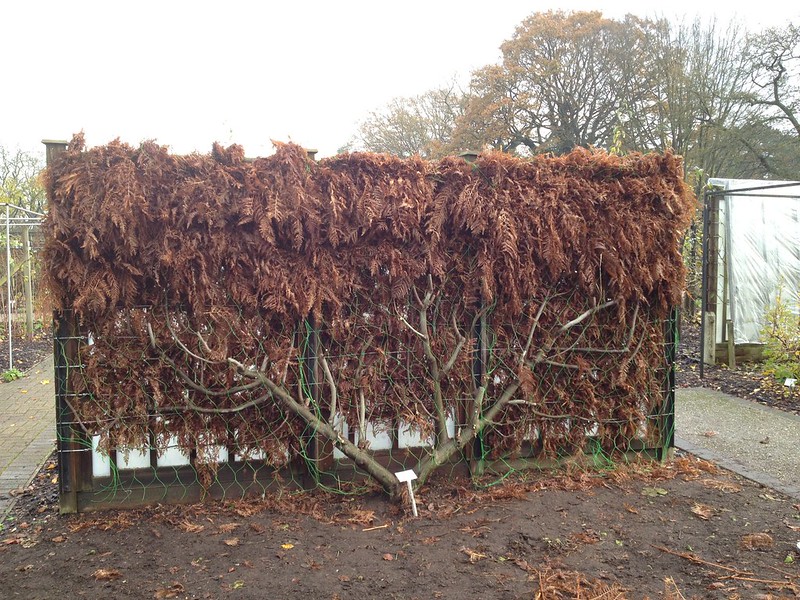 |
| After one trailer full of bracken, we just needed a bit more for the front |
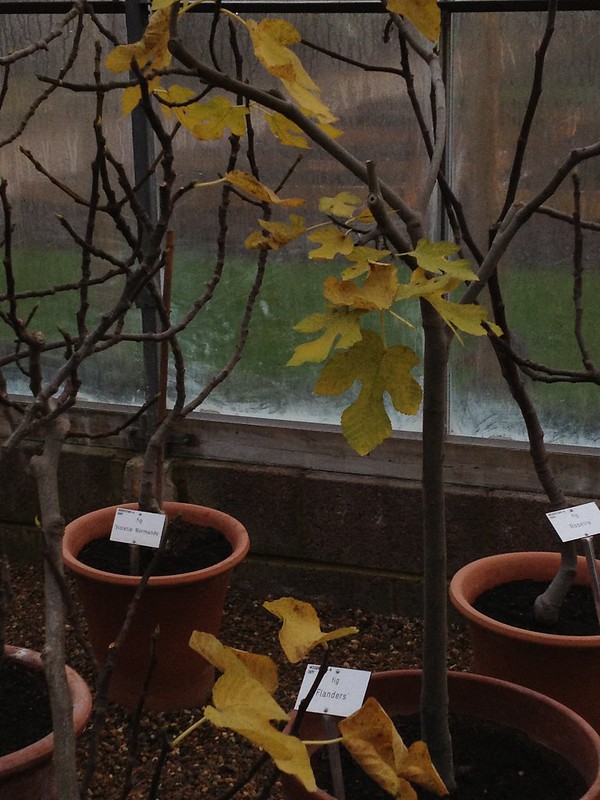 |
| Fig in pots under cover |
cover in the greenhouse: they need free draining compost but regular watering and feeding, because in their natural dry habitat they spread far and wide to look for their nutrients.
There is plenty of information online to grow figs both outdoors and in pots:
RHS fig plant profile
Grow your own figs
I am fascinated by stories, and the one that caught my attention most today was one about there being volunteer figs around the country, outside bigger towns, on riverbanks, dating back to Victorian England. Apparently, dried figs were a popular festive food and they came seeded - the seed ended up in the sewers and were discharged in the rivers, where they germinated in the warmer microclimate.
Pollination and seed formation in figs is a very complex thing, for one the flower are enclosed in the syconium, so they are not easily accessed. But tiny - 1mm - wasps have co-evolved with the plant in its natural environment to enter through the fig's ostiole (the opening opposite the peduncle) and pollinate it while using the syconium as a breeding pod. That's amazing and if you want to read more about it I found some great sources.
- A quick guide to fig and fig wasps
- Figweb: figs and fig wasps, a whole website on the amazing symbiotic relationship
- A scientific paper on co-evolution of dioecious figs and fig wasps
- A faboulous film on the sycamore fig (Ficus sycomorus) ecosystem
 |
| Seeds? |
But what I have not been able to check out is the statement that only figs from their native environments contain (viable) seeds because there are no suitable wasps in the UK.
I sliced open one of the figs we removed from the tree while working on it, and I can see what look like seeds. Are they?
Some of the fig cultivars we grow in the UK are parthenocarpic: does that mean they produce no seed or unviable seed?
I could not find a precise answer. If anyone knows and wants to put me out of my misery... :)
