Thursday, 30 July 2015

Plum days

I have not written for a while, busy as I was with coursework deadlines, but in the last two days I have spent some time with plum trees, which I think is worth sharing.

Yesterday I helped the Plant Health and Seeds Inspectorate (PHSI) pick leaves from the orchard to be tested for plum pox virus, so that its spread can be monitored and contained. We picked 24 leaves each from 125 of the 127 trees that constitute the new plum orchard (2 of the trees did not have enough leaves on them to provide a full sample). To avoid cross-contamination of the samples, we used a new pair of gloves for every plant. The picked leaves were sealed in plastic bags and kept in a cool box until they were sent for testing. It was an interesting experience to make, as I had not realised the risks from plum pox before, but I must admit I was slightly uncomfortable with the amount of plastic gloves ending up in the waste bin.

Today, instead, I was helping our fruit specialist with chip budding plums, something I had been looking for. The process does not look too difficult, but of course it's just because it's done by a skilled person.


First, one has to collect the bud material: ripe new-year wood that has started changing colour. This is often found on the south facing side of a plant.
The stems are trimmed of the leaves, leaving a small part of the petiole (if we were doing T budding, we would leave a longer piece, as it would serve the purpose of a handle). 
They are then labelled and kept in a cool place, preferably wrapped in moist towel until use.

Sometimes one cannot find first year wood, so it is possible to try with second year material (hardened wood).
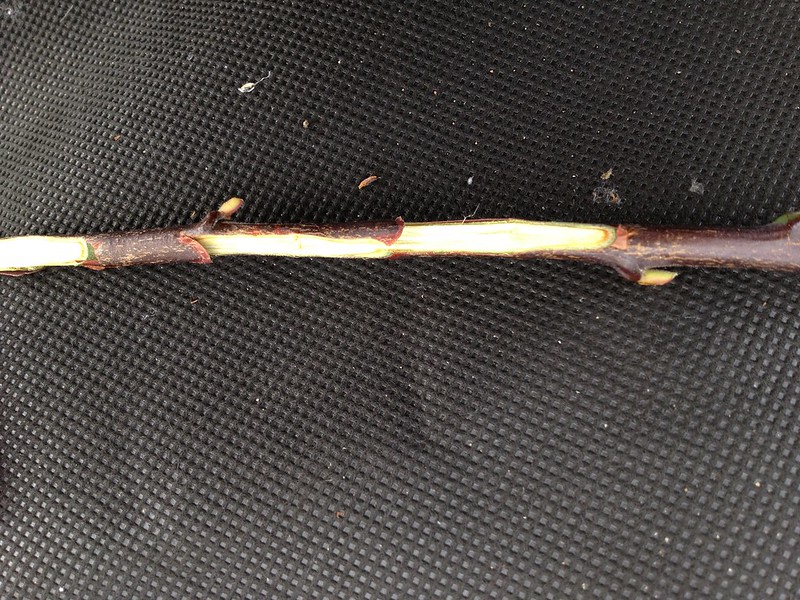


Toe cut (the "lip" on the left), and buds removed

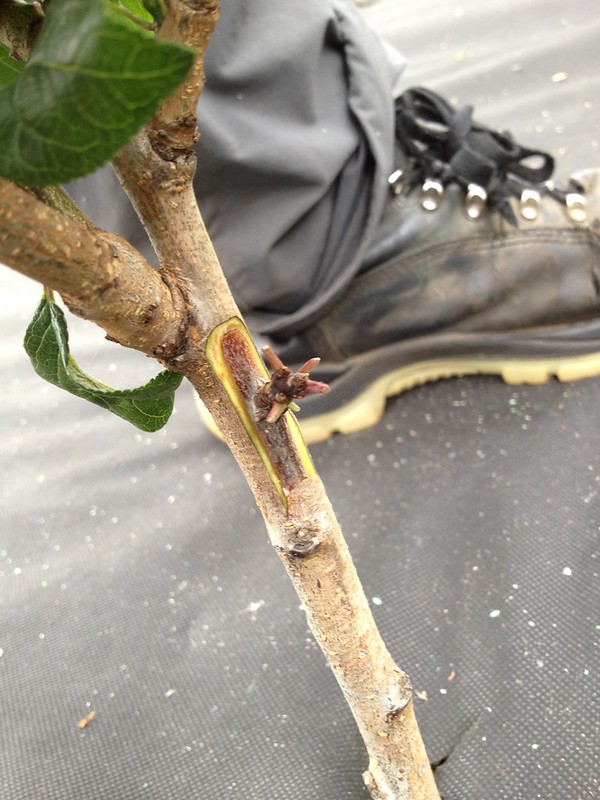
The buds are removed, one by one, with some 3-4 cm of stem around them: practicing a "toe cut" at the bottom and then sliding the budding knife from the top of the bud down to the toe cut.


It is then the turn of the rootstock, which has to be previously cleared of any side branches at the base for 20-30 cm.
Then, standing astride over the plant,
  • on the north side of the main stem (so that the bud straightens up by growing towards the sun), 
  • at a height of 10-15 cm from the ground to avoid rain splashes (with possible fungal spores) and 
  • possibly above a node (which will stop the knife from sliding accidentally)
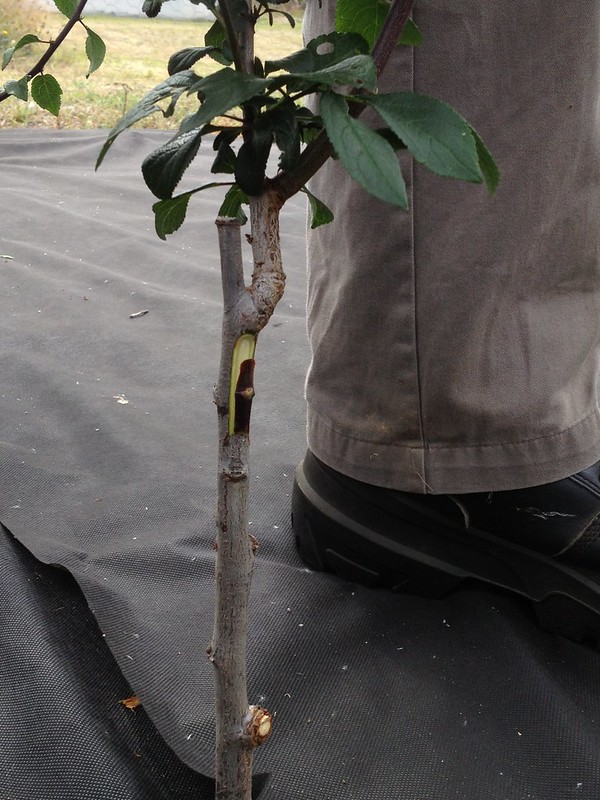
one makes another toe cut, then measures the length of the bud and cut a similarly sized superficial slice out of the stem. The bud is then slid into the toe cut, ready for binding with grafting tape (a clear plastic strip).
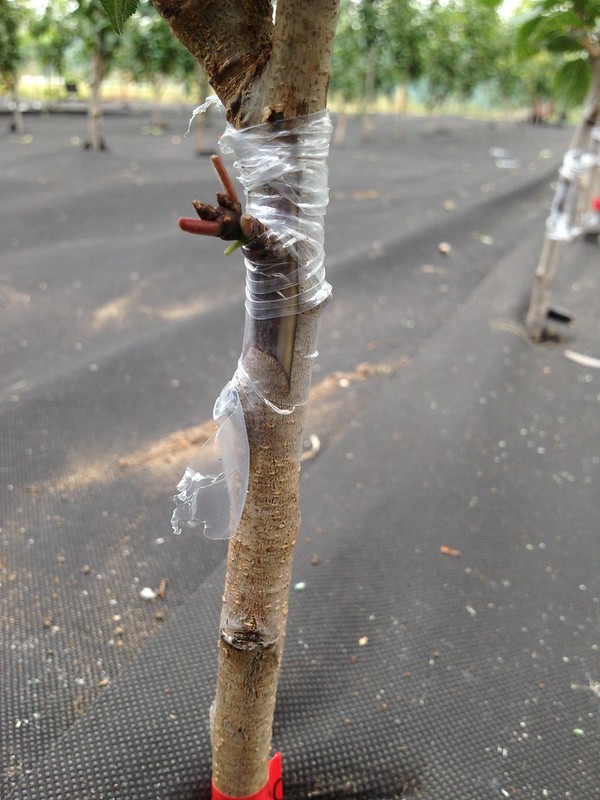
Chip bud with first year budChip bud with second year bud
Binding needs to be tight: the fruit expert reckons that a good bud with bad binding has less likelihood to succeed than a so-so bud with good binding. The buds need to be covered with the tape too, unless it's too big to fit (i.e. on second year wood). The best way to bind is with clear stretchy grafting tape. Starting from the bottom, this is tucked in, then wrapped upwards, and closed with a knot, pulling any hanging bits to finish.

Binding over new-wood budBinding around two year old bud


I was in charge of the binding, and we went through some 90 rootstocks!

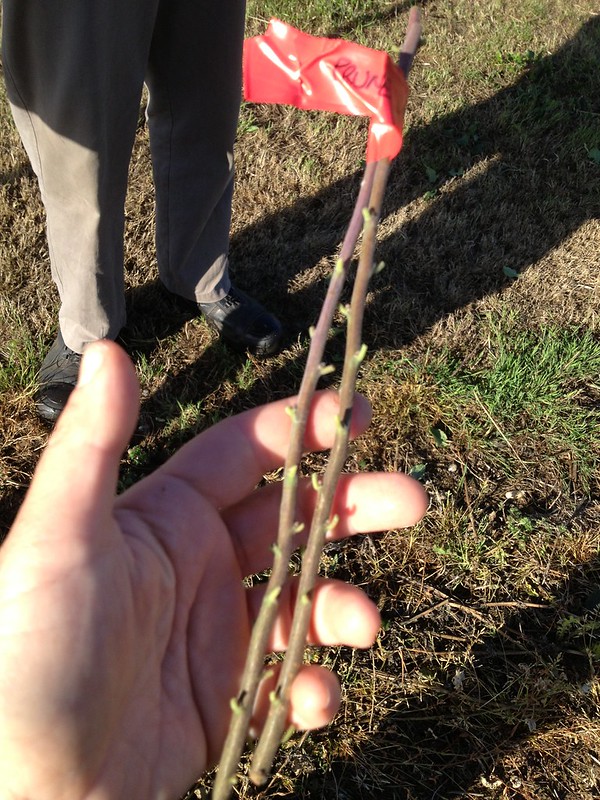
The tape will be on for 4-6 weeks until callusing of the wound is well underway. The fronds of the rootstock will be left on the whole season; cutting back will only take place next year in February (late February for apples), just when the sap start to rise, but before the pull is too strong, which may "flood" the bud and kill it.
Monday, 18 May 2015

Chelsea Flower Show 2015

It's press day at Chelsea Flower Show and the RHS trainees flocked into London to lend a hand while getting some insider's knowledge of the UK's most famous display of plants and garden design.

I was assigned to assist one of the judging committees for the exhibits in the Great Pavilion: on a tight schedule for two and a half hours, we had to help the judges navigate their way through 17 exhibits, which they were to judge from the perspective of their specific expertise.

The displays are judged based on the brief submitted by the designers, and according to horticultural and design criteria such as:
  • plants, 
  • overall impact;
  • endeavour.
The best displays receive a medal: bronze, silver, silver-gilt and gold, but during the show garden and exhibits are also assigned special awards.

The judging process is very confidential as the stakes are high for the participants to such a high-profile show, and the results will not be announced until tomorrow. That is why trainees are asked to make room for the judges around the exhibition so that they can observe thoroughly and are allowed the privacy to and discuss their votes without prying eyes. In the process, we got first hand experience of what it means to judge an exhibit. Once the medals were assigned, a group of us also helped the judges on a further round of judging for the awards. The judges were then going to spend the rest of the day finalising the distribution of medals and awards, while we got time to spend visiting the Show.

While Chelsea is mainly a flower show, there were some fruit, vegetables and herbs exhibits and I was on the committee in charge of evaluating them, which was fascinating!


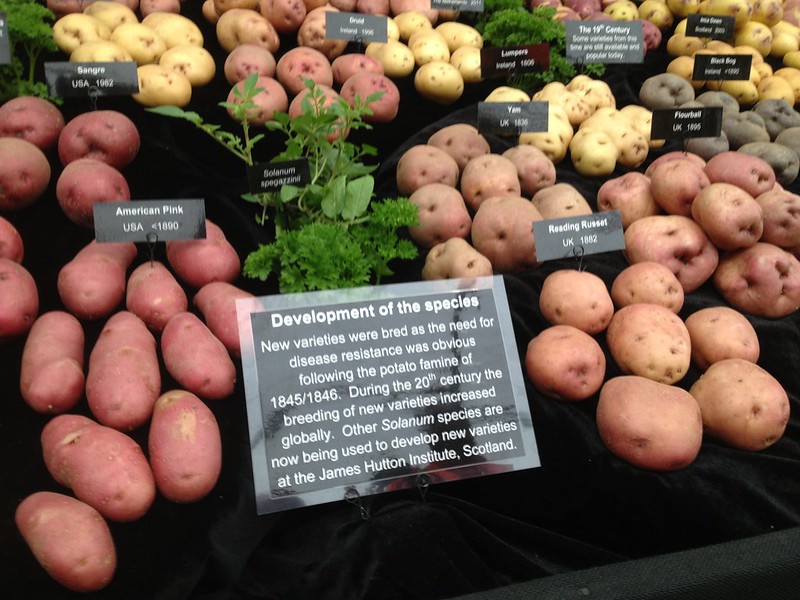
Potatoes at Chelsea!

My favourite edible exhibit was an educational potato display with some 140 varieties grouped by species: the colours and shapes really stood out, highlighted by the black background. Morrice and Ann Innes designed the display, which was sponsored by seed and plant company Thompson & Morgan.


For some people, the enormous variety of potatoes must be a novelty indeed... it was for me when I was first invited to join a Facebook group of potato breeders and growers called "Kenosha Potato Project" where I've seen the strangest, more colourful and interesting shaped tubers from across the world and learned that "papas" is the original name of these favourite of tubers. They come in such coloured and varied shapes as exemplified below!


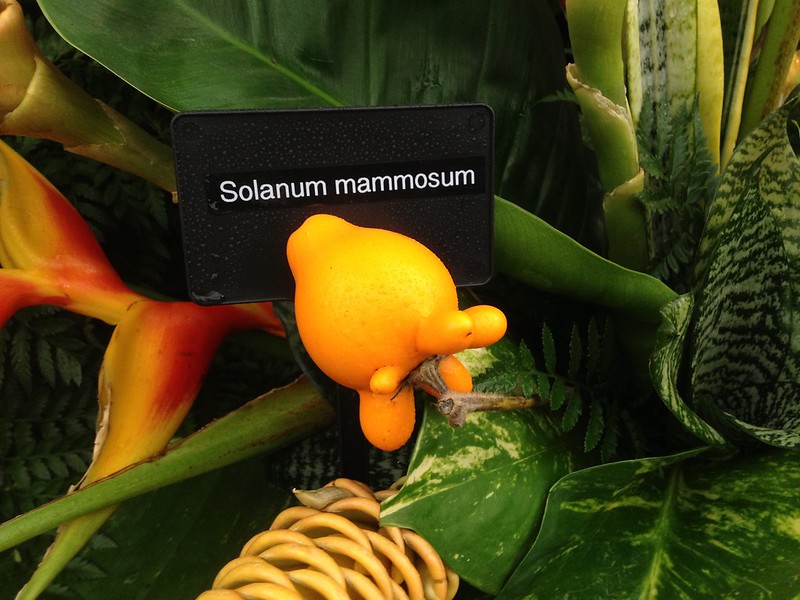
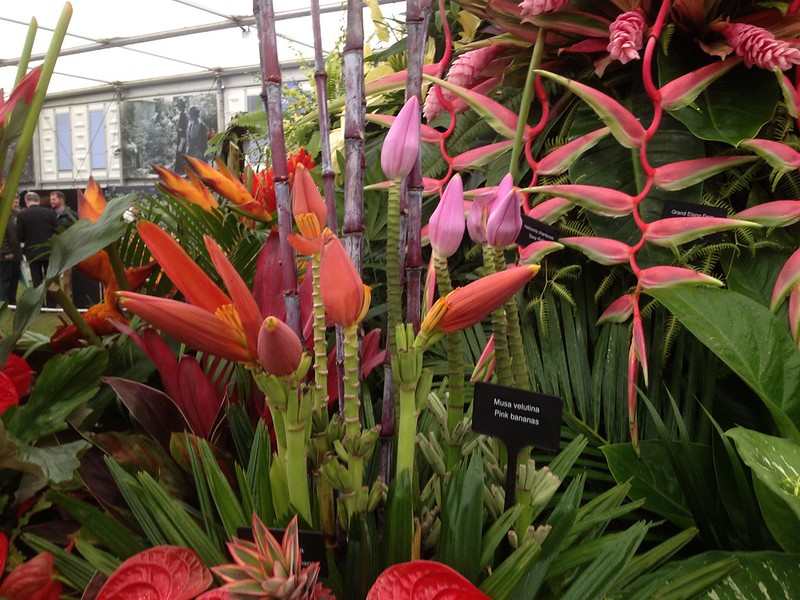
The Grenada's ‘Pure Grenada’s Rainforest’exhibit was also rather gorgeous, displaying lush green, bright colours, spices and fruits that are native to the island: one had to recognise that some places on earth are blessed with particularly show-worthy flora, such a Solanum mammosum or titty fruit, which is said to resemble a human nipple on one side and a cow's udder on the other, and pink banana Musa velutina.

Solanum mammosumMusa velutina
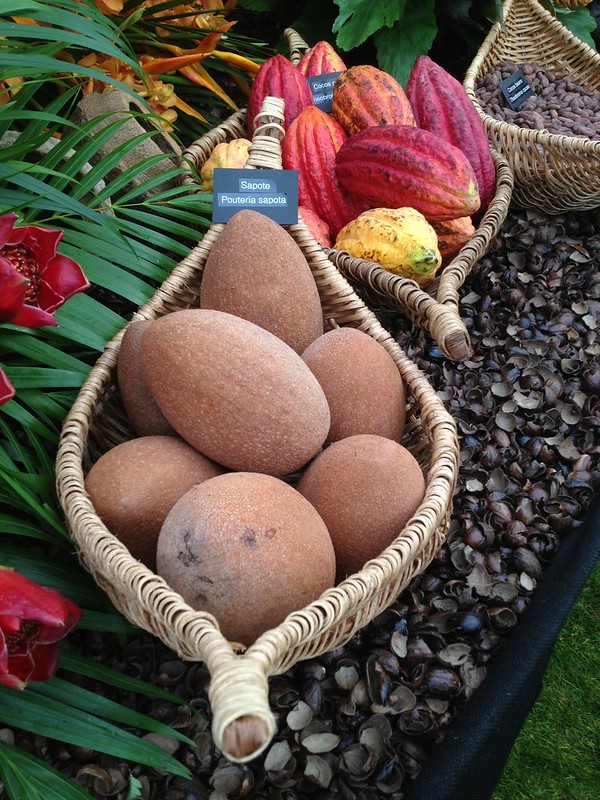
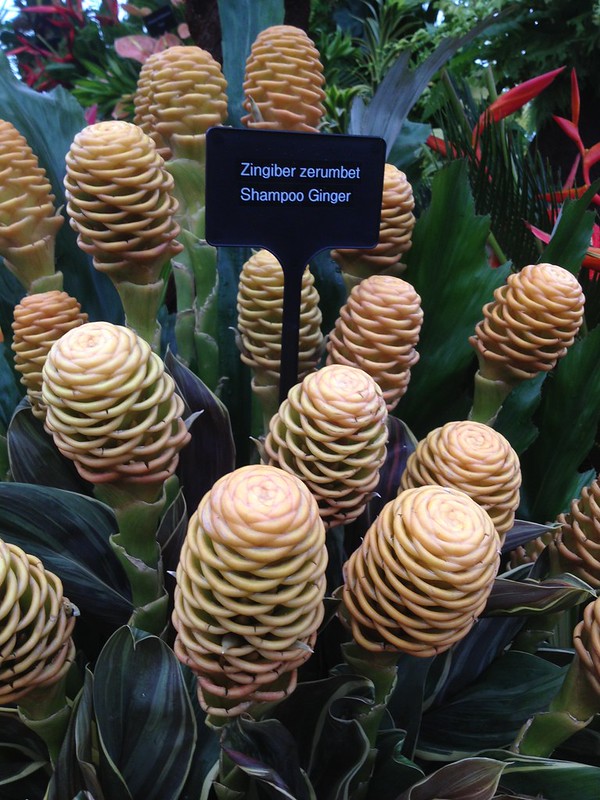
Delicious fruits, such as the colourful fruit of Theobroma cacao that gives us chocolate, or the versatile Zingiber zerumbet, with its edible tubers, juice, leaves that can be used as flavouring, and flower heads that are turned into shampoo!

Pouteria sapota and Theobroma cacao Zingiber zerumbet
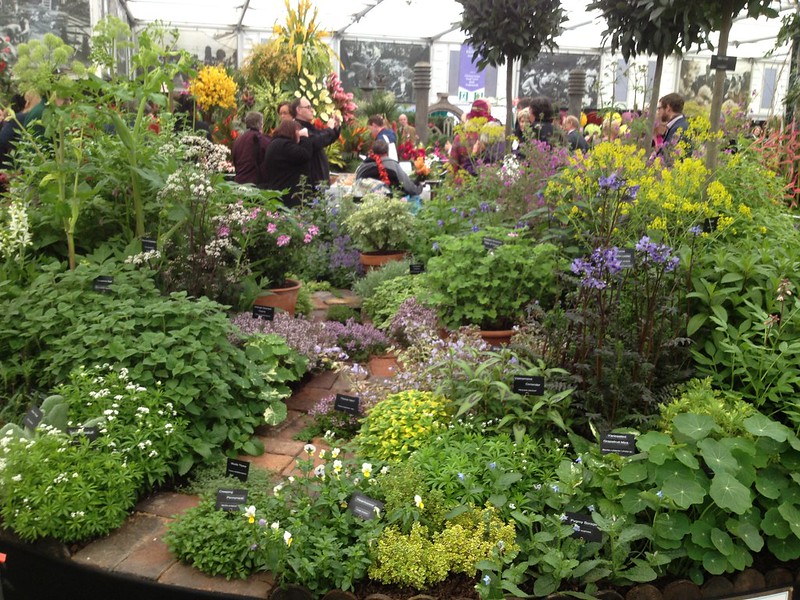
I also found a delightful herb garden

Herbs exhibit
where I was particularly attracted by 3 herbs: Galium odoratum with edible dainty leaves and white flowers, which I first saw in a garden I worked in last year and two non edibles: Polemonium caeruleum with dark leaves and blue flowers and Prostanthera rotundifolia a shrub with pink flowers.

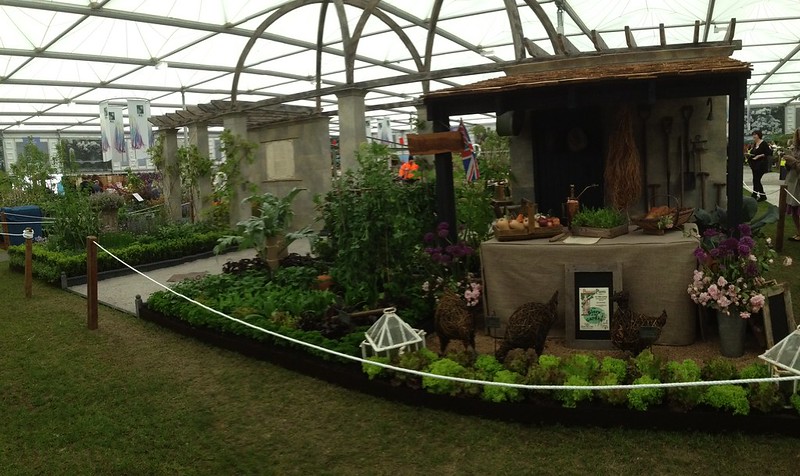
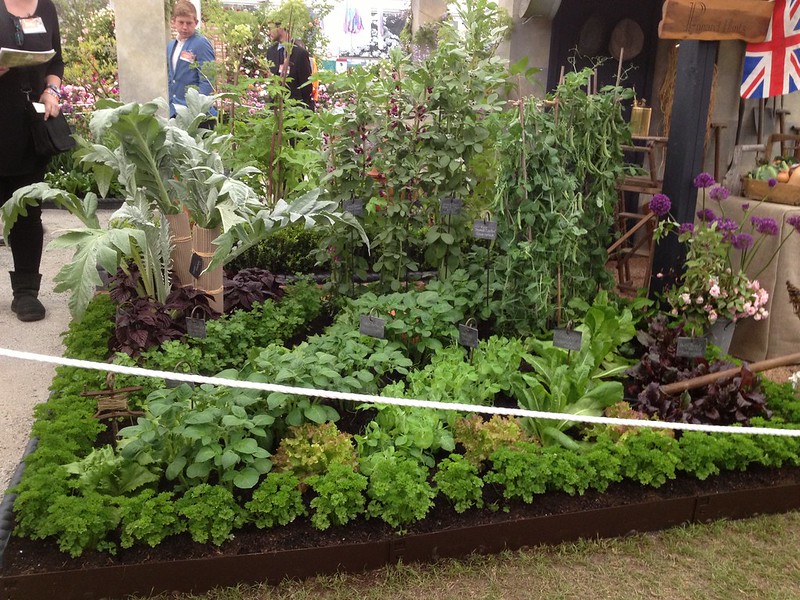
Pennard Plants stand

Detail of vegetables at Pennard's

To conclude I will mention the rather glorious exhibit by Pennard Plants, inspired by a R. Kipling's poem "The Glory of the Garden" in its 150th anniversary, with stunning vegetables.


P.S.: Glad to say the potatoes I helped being judged got a gold medal, the first of its kind! Grenada and Pennard Plants were also gold medallists.