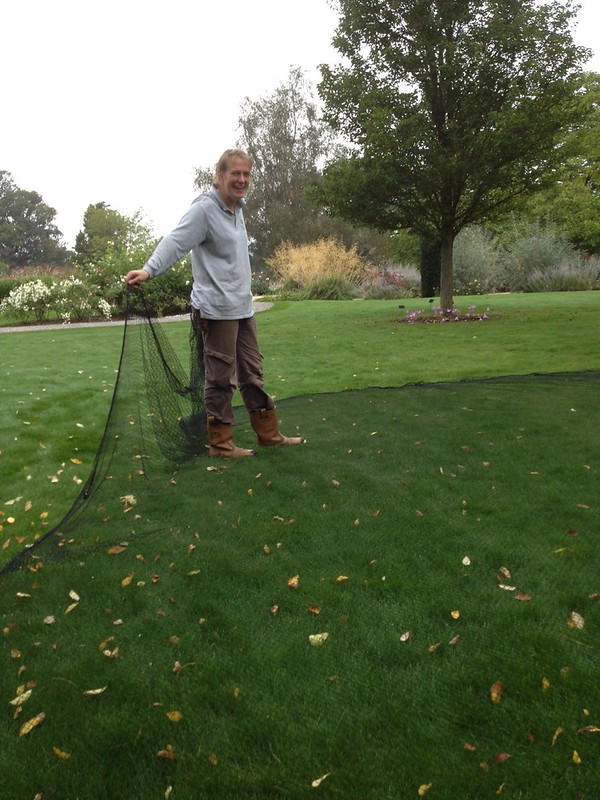
This week I will be working in the fruit garden, where, in preparation for the winter, raspberries (Rubus idaeus) need to freed from the netting cages that protected them for birds in the summer.
Plaiting netting
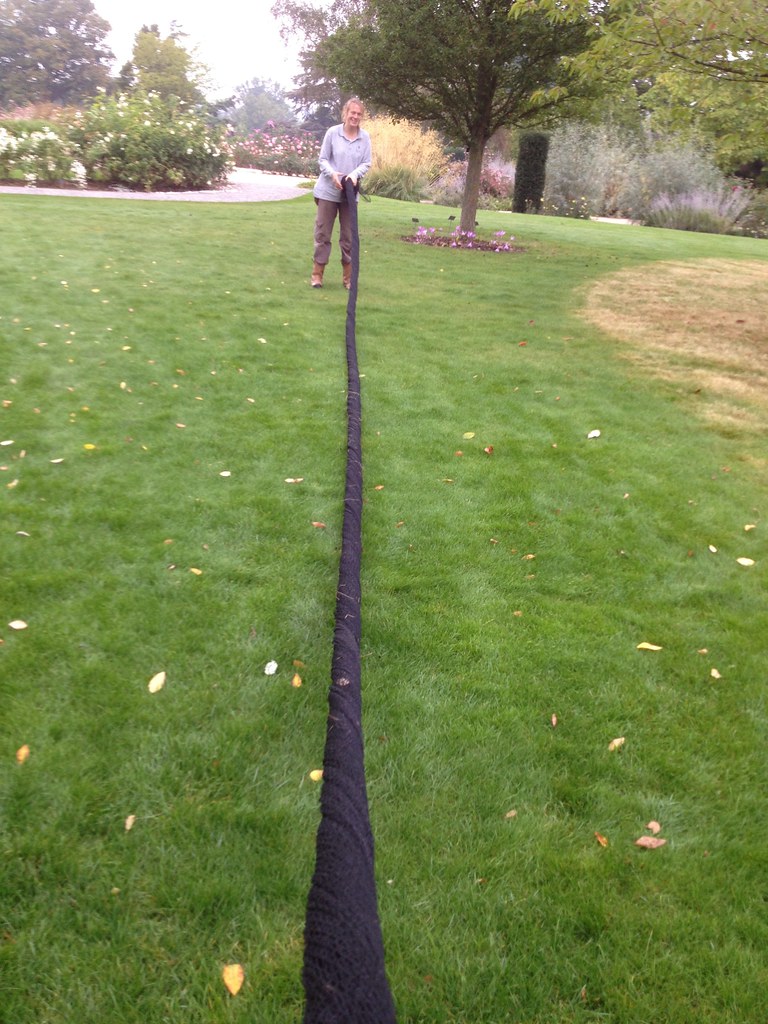
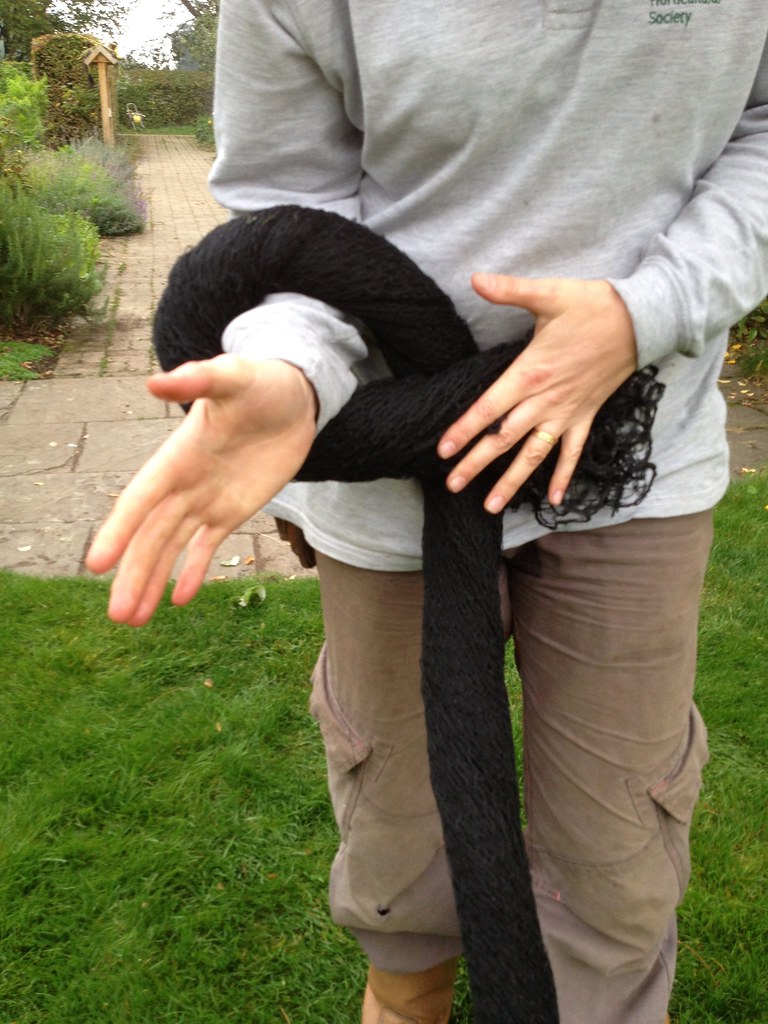
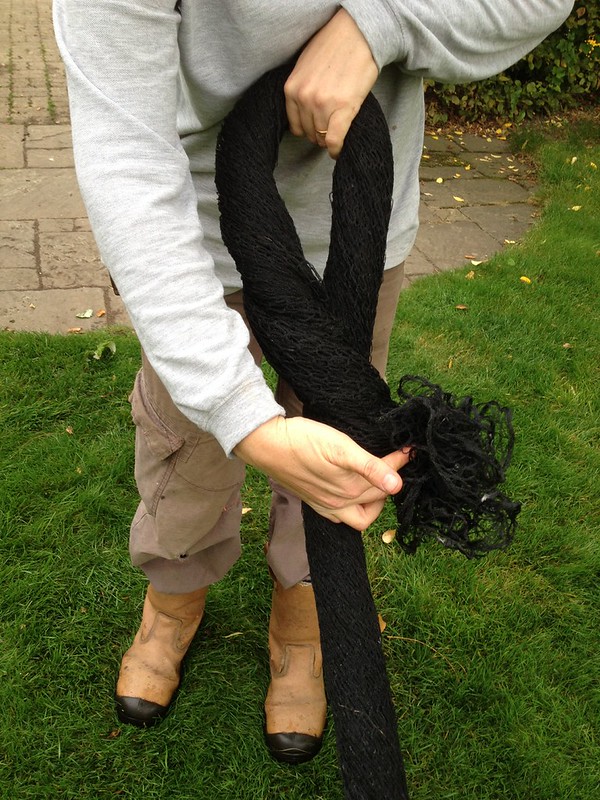
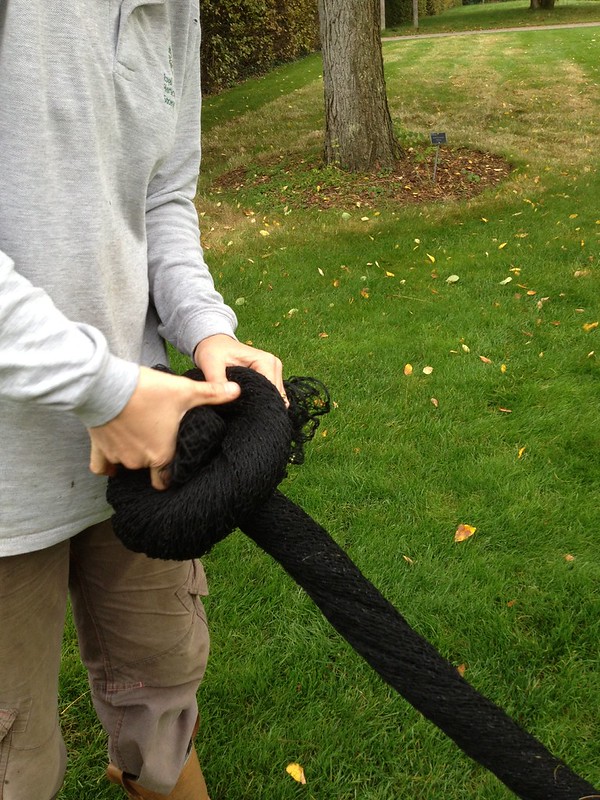
First of all, we removed the side netting, which is stiffer plastic, and we rolled it up. Then we had to deal with the top, knitted netting. We cleaned it of all leaves, then we laid it on the lawn to fold it. Because knitted netting is quite unwieldy, it is tied in a plait to keep it tidy in the shed over winter, and I learnt how to do that this morning.
 |
| Rolling up the net… |
 |
| … to a rope |
 |
| Plating: loop 1 |
 |
| Plating: loop 1 |
 |
| Plating: loop 2 |
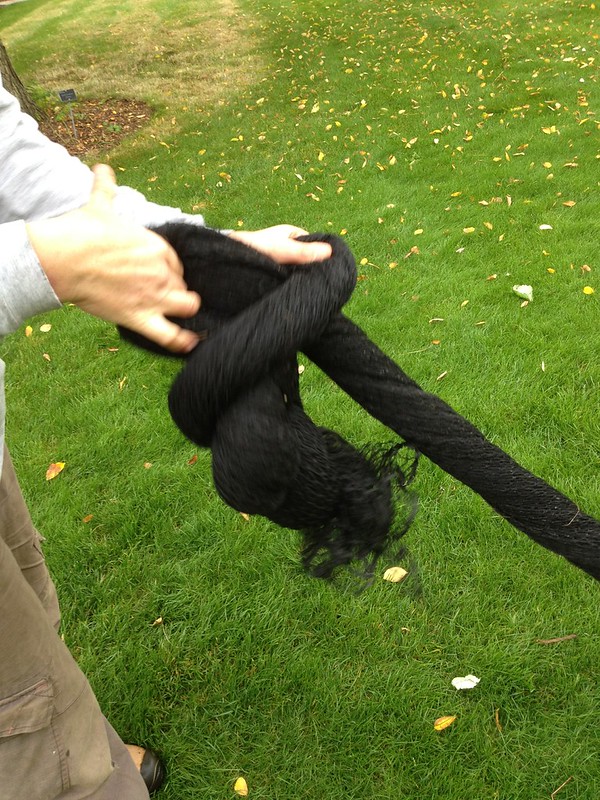 |
| Plating: loop 2 |
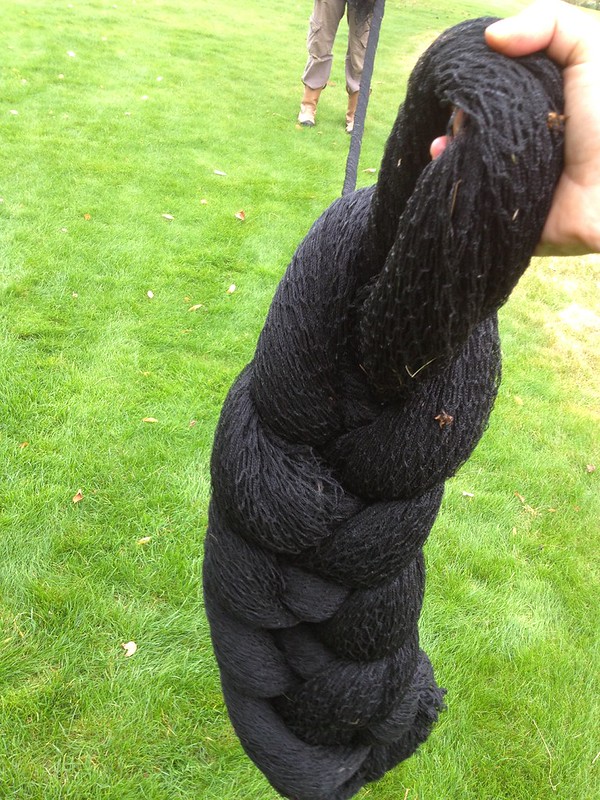 |
| Plating: further loops |
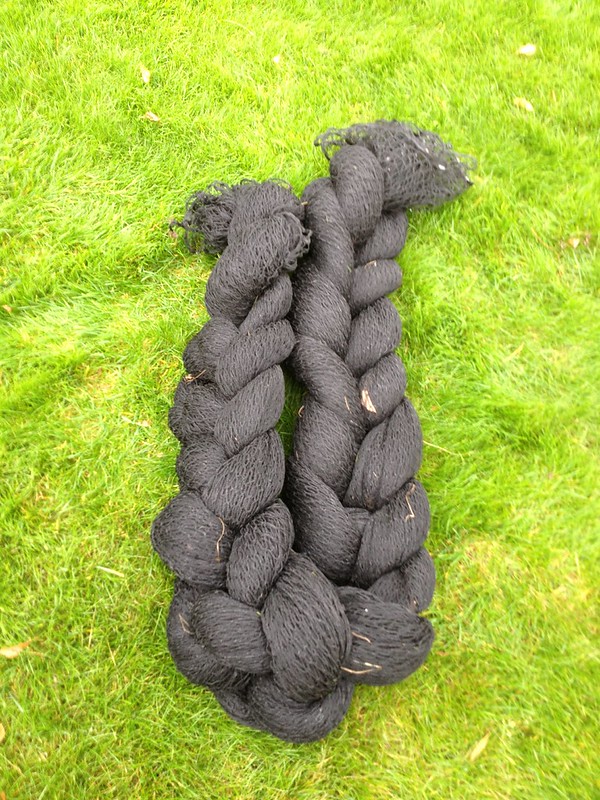 |
| A tidy net, ready for storing |
Lacing in summer-fruiting raspberry canes
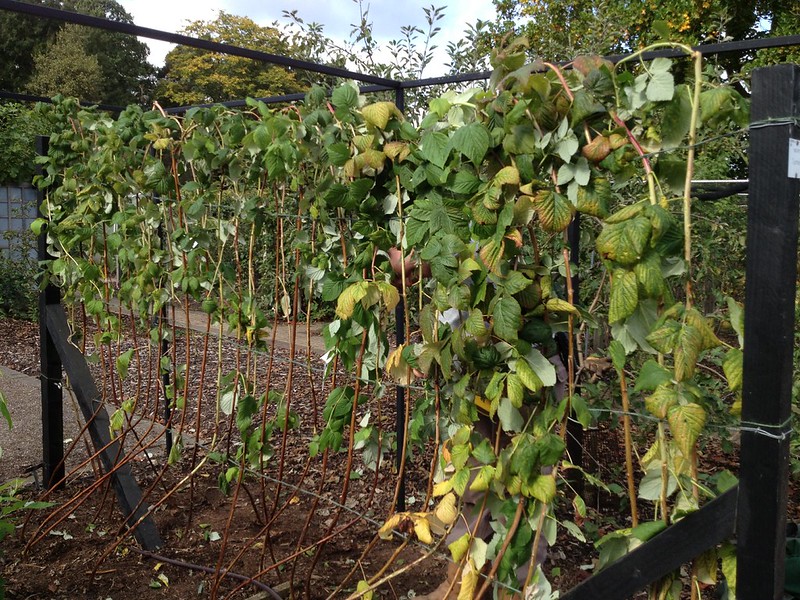
Once the raspberries had been freed of the cage, the summer-fruiting varieties, or floricanes (so called because they put up vegetative growth in the first year and only flower and set fruit in the second, some of which had grown quite tall and through the netting) had to be tidied up. As they are trained along a post-and-wire system, we also proceeded to tie them in for the winter, to prevent wind rock.
Autumn-fruiting varieties do not need such management, as they flower and set fruit on first year’s canes (primocanes) and are cut back to the ground at the end of the season. Because of that, they are also trained on a different support: a single fence with parallel wires.
It is quite a frustrating process, to start with, I found, as the canes have a mind of their own, but – having now down some three rows – my technique has improved and consists of the following:
- Clean the area around the base of the raspberries from weeds and fallen leaves, so that you can easily identify the best canes to keep; if there are any stumps left from previous canes that were badly pruned, it’s best to remove those too
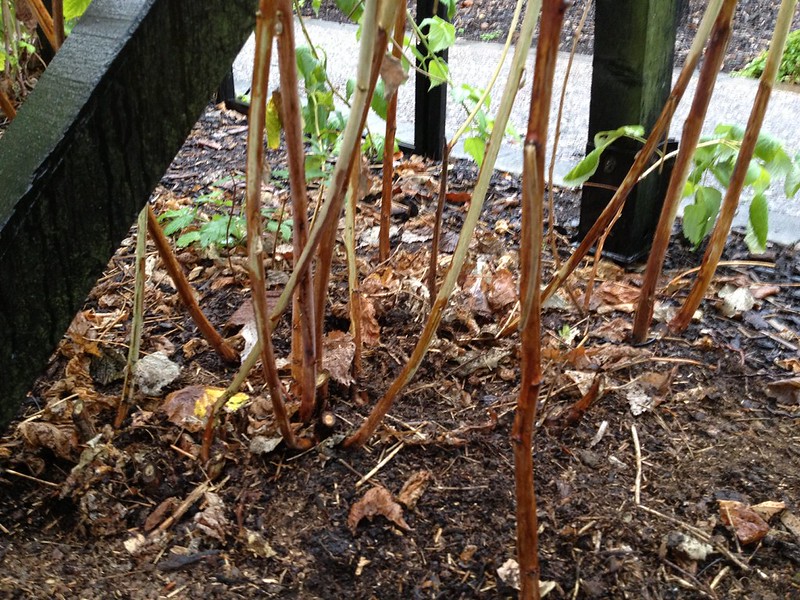 |
| Before clearing the area |
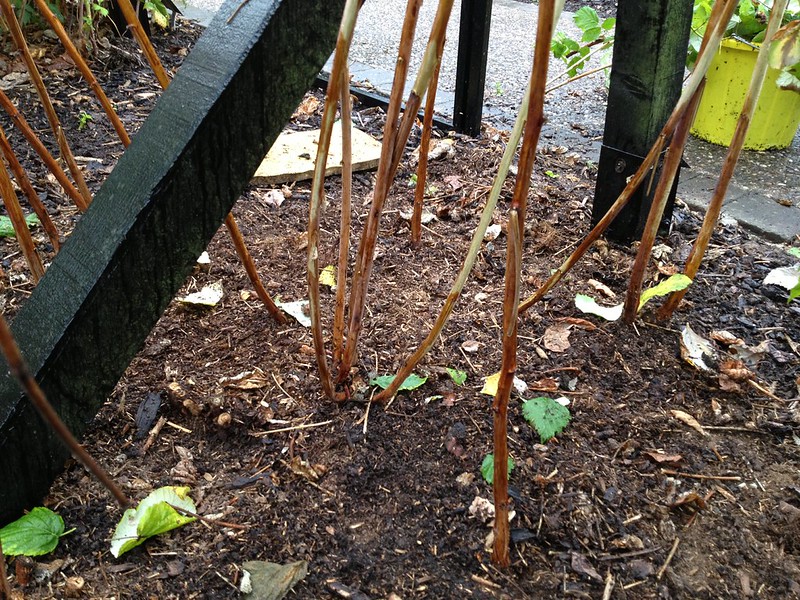 |
| After clearing the area |
- Remove any fruited canes (the ones that have the remains of fruit stalks and look as they are past their best
- We use twine, which needs moving it into tight spaces, so my colleague taught me how to make a sort of weaving shuttle around a short stick (one can use a finger-thick slice of cane that has just been cut); I must say there is still ample room for improvement for me at this stage, as my “shuttle” tends to unroll at some stage of the process, which makes tying more complicated than it should
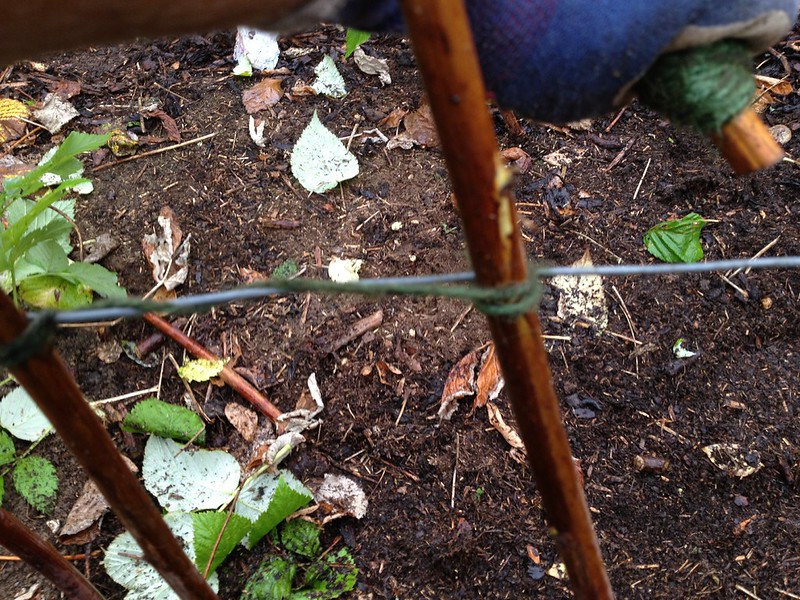
- Tie the twine to one of the post, with a self-tightening knot if possible, but, whichever the knot, making sure it is not going to loosen up over time. We have three wires in our system: at the bottom, middle and top of the canes, and we start tying canes to the lower one. Before starting, we tie a self-tightening knot at the beginning of the wire (this step is mirrored at the end of the wire)
- Choose the first cane to tie in: it has to be strong, higher than the top wire and be stiffer with secondary growth (avoiding green, sappy canes); it is better if it is not damaged, but one has to do with what one sees in front of them
- Tie in the first cane (see pictures below), then proceed to the next one that needs to be tied in at about 10 cm distance on the wire. It does not matter which side of the wire the cane comes from, or whether it is actually 10 cm (or so depending on the amount of canes and length of the wire) away from the previous one: canes can be bent to one’s needs, provided that there is a rigorous successional sequence and they are not selected randomly.
- Any canes that have not been chosen are best trimmed back to the ground as one goes along. As raspberries tend to produce buds straight at the bottom of the canes, it is best to do any pruning right back to the ground, so that stumps do not get in the way of new growth
- Repeat on the middle and the top wires: canes need to go up parallel from now on, 10 cm from each other
Tying in canes: the knots
 |
| “Parallel lines” |
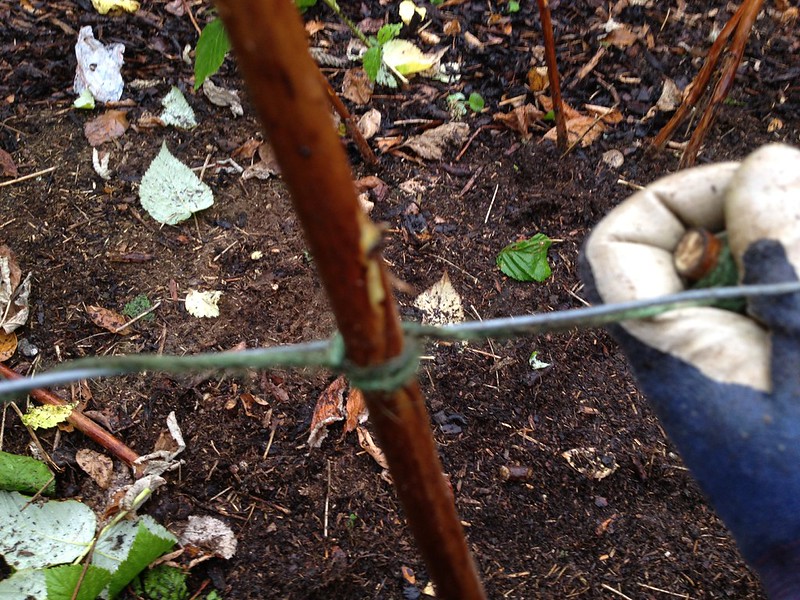
Pass the twine around the cane, where it faces away from the wire and above the latter, then go around the wire and, from below it, pass a parallel line back to where you started. To remember the sequence, I call this ‘parallel lines”.
 |
| The “cobweb” and “in the middle” |
Make a whole loop around the wire from below to above and then back to below, tightening it up quite hard. Then pass the twine behind the cane above the wire and pass it around the wire once (or twice depending which side of the wire the cane is on) so that it faces the new cane and you can start again . I call this “in the middle”(of the two canes).
Taping in the loose ends
The final flourish requires one to bend down the top of the canes in equally spaced and high arches, and to tape them in, in one-way succession, to the top wire, for a decorative (as well as functional) finishing effect.
Et voila
 |
| Canes tied |
 M.Paola, that’s me
