Anyway today I was thought seed sowing in pots, formally, for the first time. I have always found the glasshouse environment daunting, and so was having a go at seed sowing there, but the masterclass was very interesting and comprehensive.
Researching your seed requirements
You do have to know your plants, and their requirements, before sowing, so you have the best chance of getting a thriving plant at the end of your efforts.
There are several professional seed companies (i.e. Moles Seeds, Jelitto Seeds etc and other libraries such as virtualseeds.com) that give you a helping hand by publishing data online, but it is always good to have a booklet of your own, with annotations of what works for you and what does not, also because you will find contrasting information online. Always worth having a go at a method, but never making the same mistake twice!
For example, plants that do not like root disturbance, it would be better to sow direct, or in jiffy pots, or plugs. Or other plants, like Echinacea or some of the tropicals, won't germinate if sown too early as it needs a minimum amount of light (for the tropicals you may need artificial lights on top). Delphinium needs 10 days of darkness. Some seedlings, like Ricinus, tend to get their cotyledons stuck in the seed coat: mist helps keeping the seed coat moist to avoid that (as well as protecting seeds that are surface sown from drying out).
Filling with compost
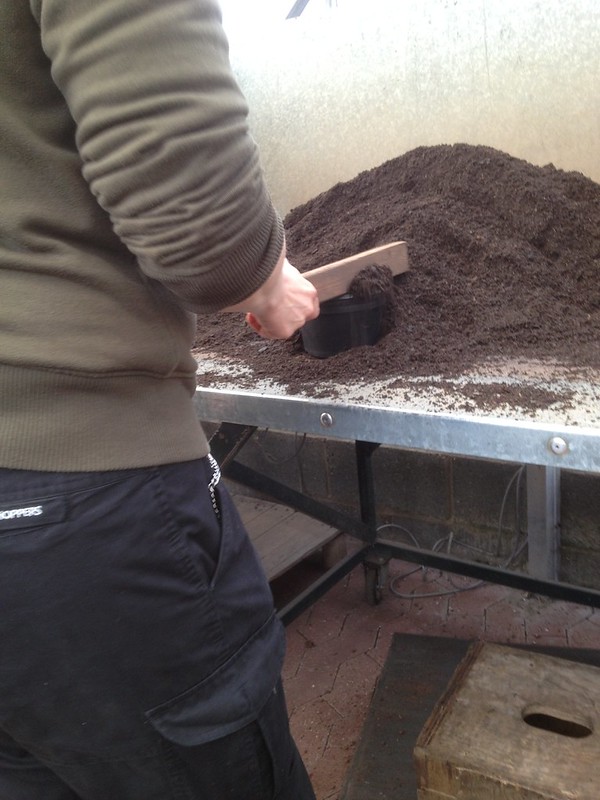
Top of all: the compost. At Wisley, like at Kew, they use peat free compost for most of their sowing. A 70/30 coir perlite proprietary mix for seed sowing (free draining, with a smooth surface finish) and a bark based one, with loam and coir, for pricking out and potting on. As a first thing, lumps are rubbed out of compost laid out on the bench, then compost is scooped up, overfilling the pot, that is then scored with a wood bar, from the middle toward the sides.
 |  |
| Overfilling the pot (pan in this case), then scoring it to a smooth surface | |
 |
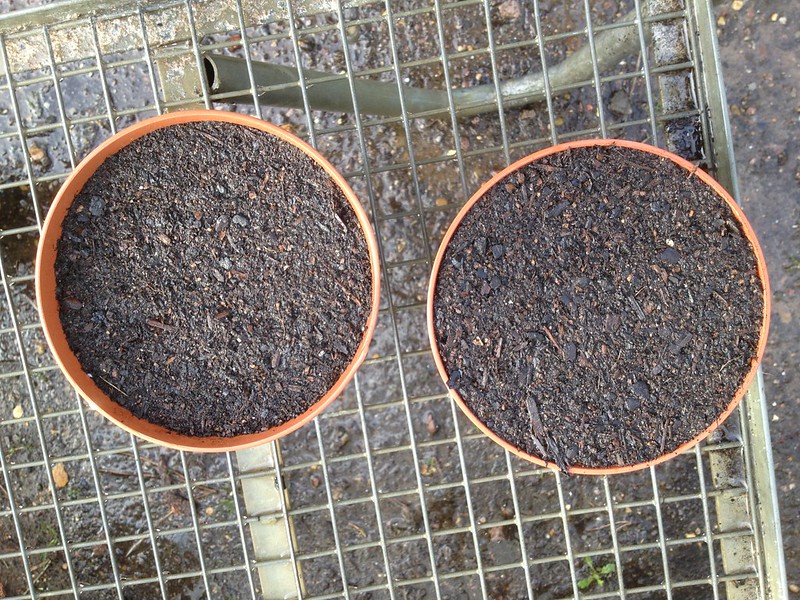
| Pots after watering, ready for medium and small seeds |
Small seeds
For small seed, one taps the pot gently, scores off the excess, then with a presser board one just tidies
the top - no need to press to get a high lip from the margin of the pot, as small seeds are not covered with vermiculite; besides, you don't want the seedlings to go leggy trying to get out of the shade of the lip.
Medium and large seeds
For large seeds, which will be covered with vermiculite, you need a deep lip, at least 10 mm, to the margin of the pot, so you press the compost firmer with the presser board. No tapping is required.
Watering
The next step is watering, with a fine rose, upturned and with running water (start and finishish away from the pot, so as not splash and spoil the surface of the compost!). The compost will sink just enought to allow proper sowing. You might have to go over the pot several times, depending on the type of compost you are using and how water percolates through it. Lift the pots to feels the weight and assess if they are watered through. This is important, as you do not want to have to water too soon after sowing, disturbing the germination process. If you have time, do leave to percolate for half an hour.
Here they add biofungicide to the water to avoid damping off. One of these is Trichoderma spp, a genus of fungi commonly present in the ground, that thrive on roots so have developed ways to promote their growth, and to parasitise (or otherwise attack) other fungi that might damage those for them. There is an interesting article on Trichoderma and its uses on Cornell Univeristy website.
Sowing
Again, sowing is slightly different for small and other seeds. For everything applies however the principle: sow sensibly, meaning a sensible extra amount because not all the seeds one sows germinate, but not too thick, or the seedlings may get diseased (damping off), and will be difficult to prick out.
Another principle that applies to all is: don't sow next to clean compost, as seeds have a tendency to find their way into places they shouldn't get. So ideally one would want 2 potting benches, or at least one should clean up between using compost and sowing.
Professional seed packets indicate the number of seeds/g, so one can be precise. But a rule of thumb is that a pinch the size of 5p contains some 100 medium-sized seeds.
Small seeds
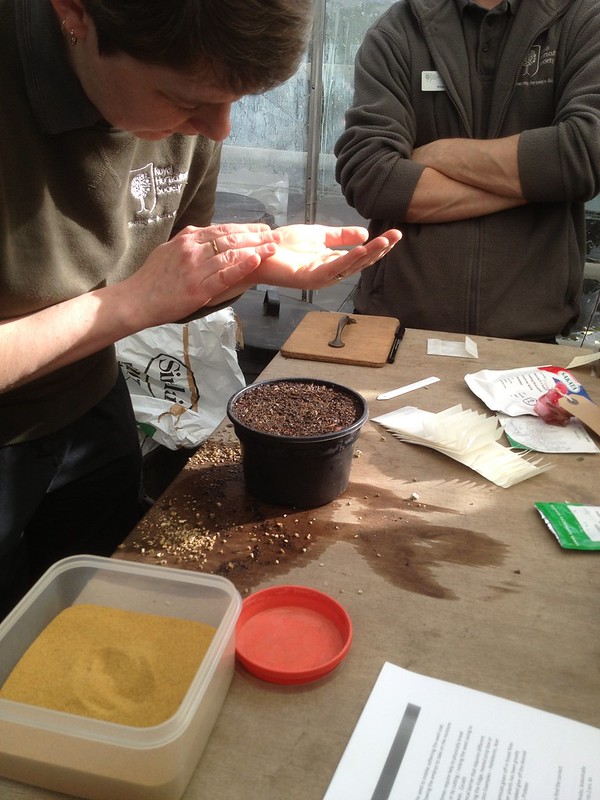
Small seeds are bulked out by adding horticultural grade sand, at a rate of 1:2 seeds to sand, so that it can be spread more evenly, and you can actually see on the compost what you have covered and what not. The best way to spread it is to keep in in the palm of your (dry) hand (or in a folded piece of paper), kept hight above the pot so one doesn't get lines, then tapping the side of the said hand/piece of paper while one keeps moving, from the outside to the centre.One does not cover fine seed, unless it is a specific germination requirement.
Medium and large seeds
One takes a pinch and start sprinkling them evenly, from the outside of the pot towards the centre. If any seeds are accidentally spilled, in the pot (as a clump) or outside, they should be left there to minimise contamination with other accidental spillages etc. Seeds are then covered with up to 10 mm vermiculite, depending on the size of the seeds, levelled out if necessary by gentle tapping - never scraping as that might move the seeds around.
Writing labels and records
By the book, labels are then written from the blunt end down, indicating the genus and species in capitals for easier reading, the date of sowing (and your initials if in a shared environment). They are then placed at the back of the pot, in the centre, facing forward.
It is always useful to keep a record of the seeds sown, indicating dates of sowing and germination and any particular procedure followed. If you are growing for someone else, it is useful to know when they need the plant ready, and what size of plant (and pot) they require.
Watering
It is universally known that overwatering is the biggest killer. Here they use cells for slow growing seedlings, so there is less soil to hold on to moisture. It is also worth knowing that coir jiffys will suck water out of the compost if not soaked appropriately, including when planted out (so the rim of the pot is often removed, after copious watering, to avoid it acting as a wicker).
 |
| And here's what I sowed, labelled |
Pricking out
Seedlings need to be handled by the cotyledons, the seed leaves, as the stem is really delicate and
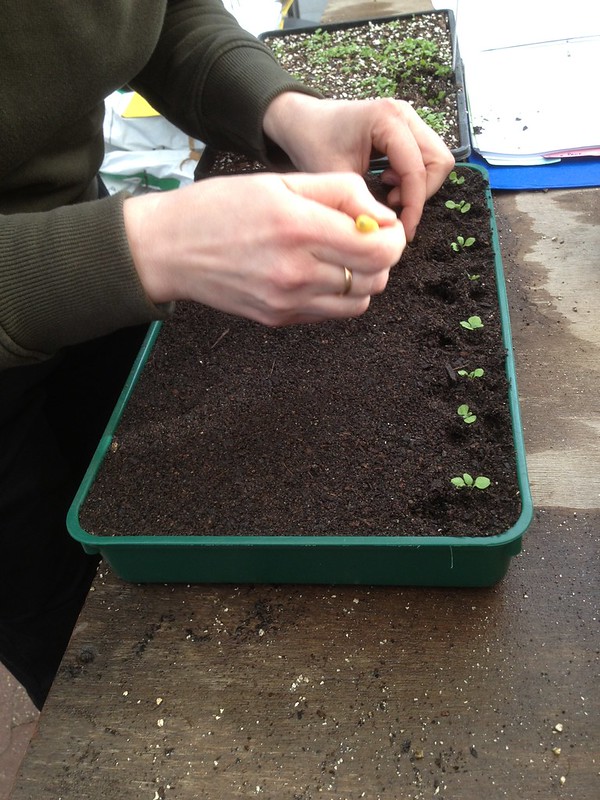
easily damaged. A dibber is useful at the pricking out stage, using the thin end to go in underneath the seedlings and lift them out of the tray. The fat end of the same dibber can be used to make a hole where you are planting the seedling, making sure one does not go too far down, creating a water pocket. The seedling can be dropped in the hole and the soil closed over it.
A tray will hold about 40 seedlings, unless otherwise dictated by the presence of cells inserts.
It is best to grade seedlings by size group in the new tray, and to plant at even depth, especially if burying the stems. If any seedlings are left behind in the original tray, they then need tidying up, with a bit of tapping.
Always end with watering.


No comments:
Post a Comment