Under the aegis of the fruit specialist at RHS garden Wisley, the collection gets regularly propagated to renew old plants and to replace sickly and dead ones (I helped before with the gooseberries). But material is also sent to other gardens and collections, and it is possible to request propagation material from the RHS on payment of a small fee.
So, armed with a list of required cultivars and their locations, a bucket, sticky tape, a Sharpie and sharpened secateurs, we trawled the orchard.
Scion needs to be pencil-thick, one year old well ripened wood (brown, not green), with relatively short internodes. Sometimes you can try and use two year old material if nothing else is available, but it's usually better to plan in advance: cut back hard the plant you want to propagate in winter so than it will produce new shoots that you can then propagate a year after.
Checking that it was not affected by mildew, we took two-three cuttings from each cultivar (if available), we taped them together, marked them with their name, placed in the bucket, and so on.
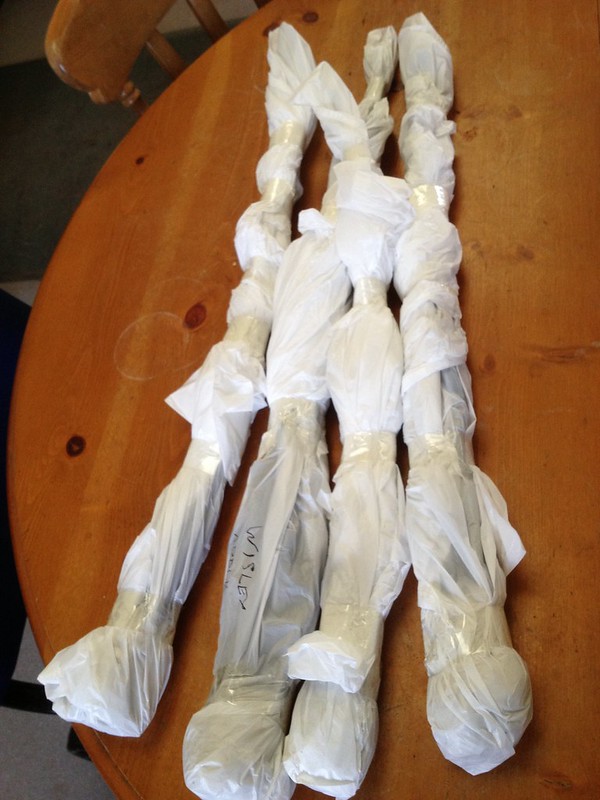 |
| Scion material, ready for storage |
... because grafting is best done in March (and into April), with dormant scion but awaking rootstock. Budding is however done in the summer, July to September (depending on the type of fruit, with a window that more or less follows the succession of flowering: Prunus, Pyrus, Malus) with dormant buds from plants that have started to slow down.
So fast forward to today, and I've finally had the opportunity to make use of that scion material I gathered almost 3 months ago (gee, time flies).
For the third time this year I had the fruit specialist all to myself, teaching me whip & tongue grafting. We performed it on M26 stock that was planted in the nursery, which was cut to anything between 15 and 30 cm. Too low, and the splashing from rain may contaminate the graft, besides, it might start to root.
The tools required today were: sharp secateurs, a *very* sharp knife (it must be able to shave, and some steels are better at that than others, I'm told German brand Tina is good), white labels, Sharpie, grafting tape, hot wax.
After a brief demonstration, I was given some spare cuttings to practice on. I felt so hawkward!
 |
| Demonstration of cutting a whip |
Then, starting in the top third of the slice (above the stock bud) and rocking the knife upwards at an angle, one has to carve the whip that will lock the graft together. It is very easy to split a whole lenght of wood if one is not careful when doing that.
Last but not least, the scion is cut to 3 buds (4 if they are very close).
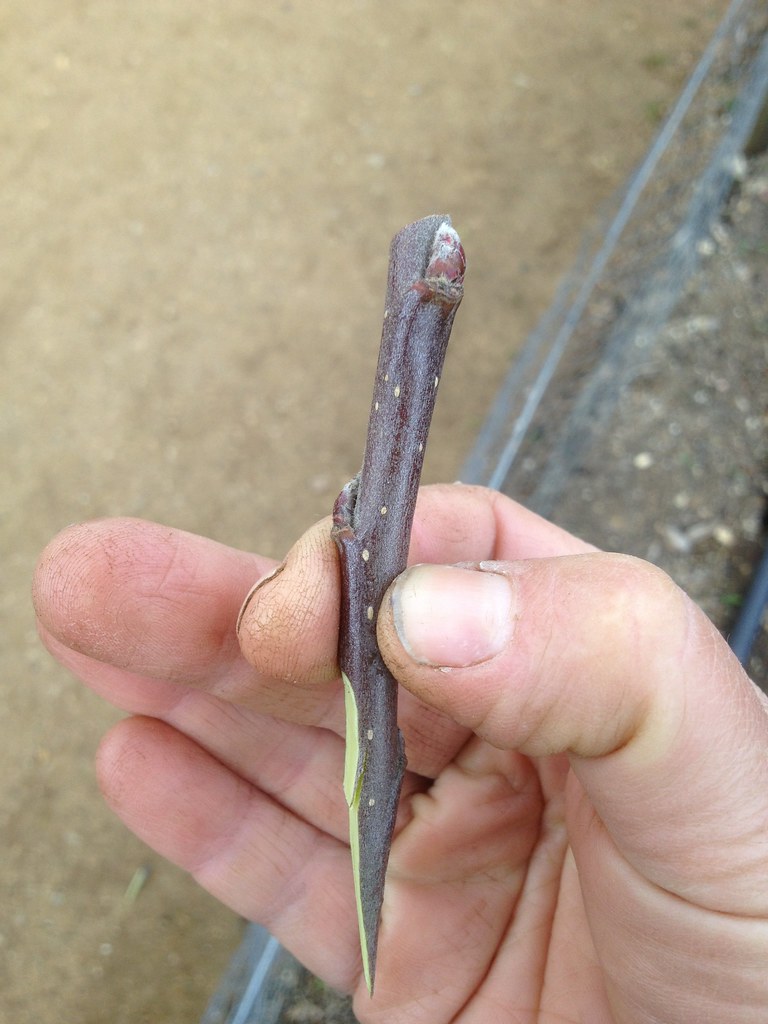 |
| The scion is ready |
Usually, the top one (or any one) will start to grow, but if they all go, then one chooses 2 and shortens them to 3 leaves: they will photosynthesise and feed the new tree! They are then removed in August, if the main shoot has grown strong and sturdy.
Then one moves onto the stock. During the whole procedure, one has to be careful not to contaminate the tools or the material with soil, which may carry pathogens.
Measuring the scion cut onto the clear side of the stock (no buds, as they are hard), previoulsy cut to a slight slant, one then proceeds with the opposite maneuvre to the scion's.
 |
| Demonstration of cutting the stock |
Starting from the the bottom and slicing upwards (astride to the stock), one makes another smooth,
slanting cut, rather superficial, that is making sure one does not goes too deep into the wood. Then, just after the top, at an angle, one rocks the knife to cut a whip here too. I found it particularly difficult to find the right angle for this whip, as it came out too thin a couple of times.
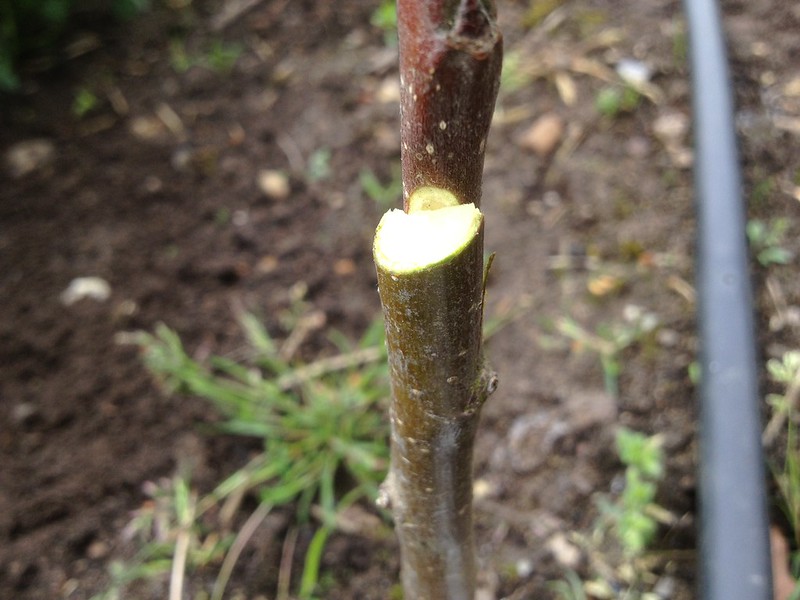 |
| "Church window" |
To complete the procedure, the graft is bound really tight with grafting tape (clear plastic, sometimes biodegradable) by wrapping it around, from the bottom of the graft towards the top, with a slight overlap to keep it in place and only making a fastening loop at the top. One has to make sure not to cover the cuts, because those will be treated with hot wax, so as to conserve moisture.
 |
| My first decent graft! |
I started with 3 grafts of 'Barnack Beauty', feeling rather frustrated by the results, but fourth time lucky and my graft of 'Barchard's Seedling' was satisfactory, and the next one made me proud: it was firm even before wrapping with the tape!
Of course the closer the size of the scion and the stock, the better the cambiums will align, but sometimes the scion is smaller, like in the picture.
It was rather interesting to have a go at waxing the cuts, and to try hot water melting pot kit.
 |
| Wax |
 |
| Melting pot |
Oh, I had so looked forward to this day! And, as some scion wood went spare, I will have some more practice in the evenings.
No comments:
Post a Comment