The design was agreed before my arrival, and the beds were put in place for us, but we had to do the clearing of the area and filling of the beds.
We removed, first of all, all the compost bags and spent crops, followed by the frames.
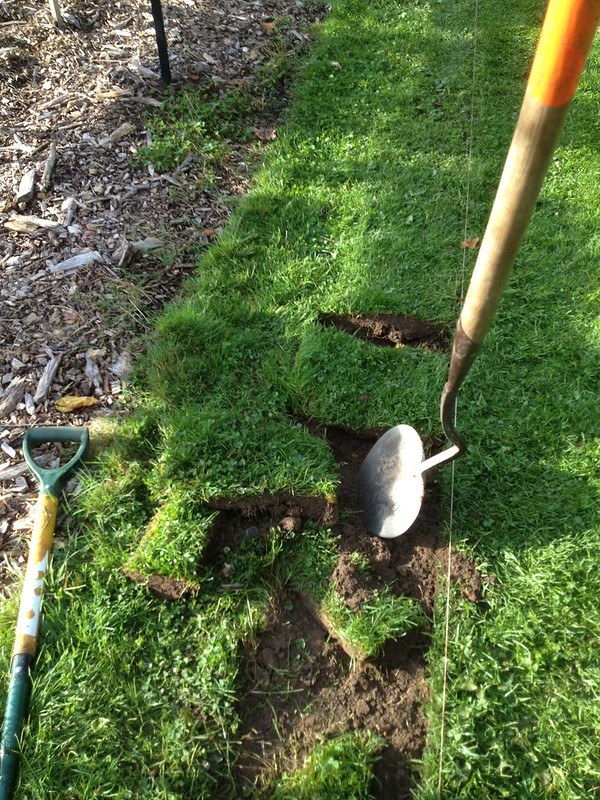 |
| Lifting turf previously sliced with a half moon |
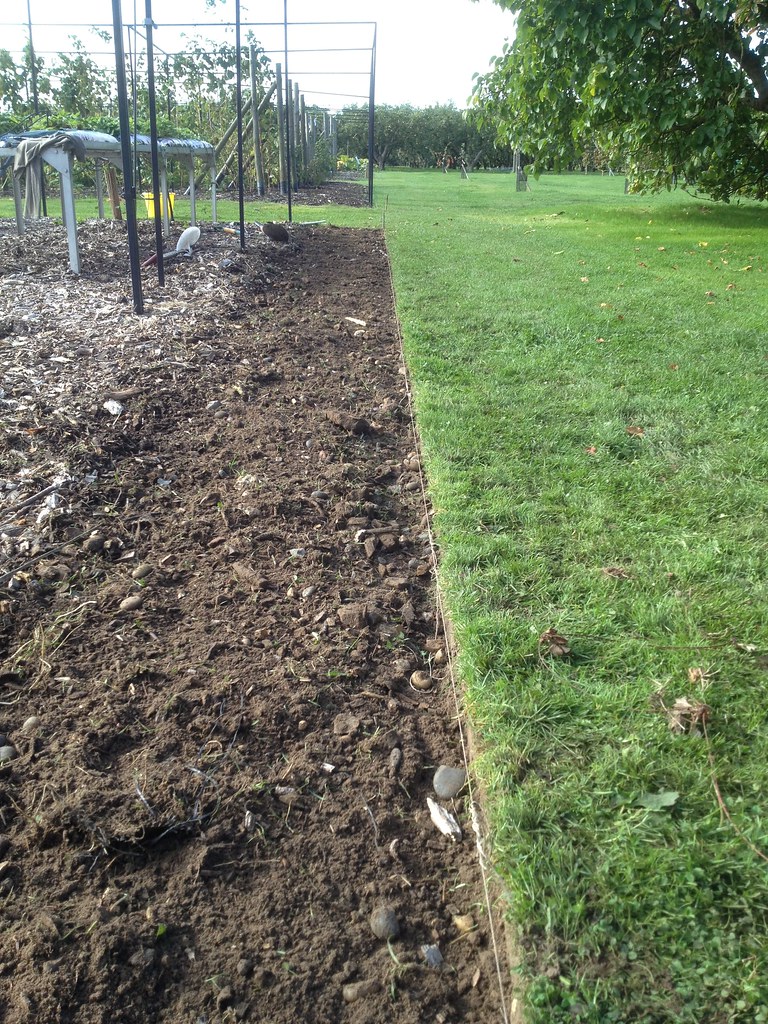 |
| New edge |
plastic membrane and covered in woodchips to keep weeds at bay - and aligned its perimeter to the other structures nearby, which meant cutting out a slice of turf (half moons and turf lifters do make such a difference as compared to using spades!)
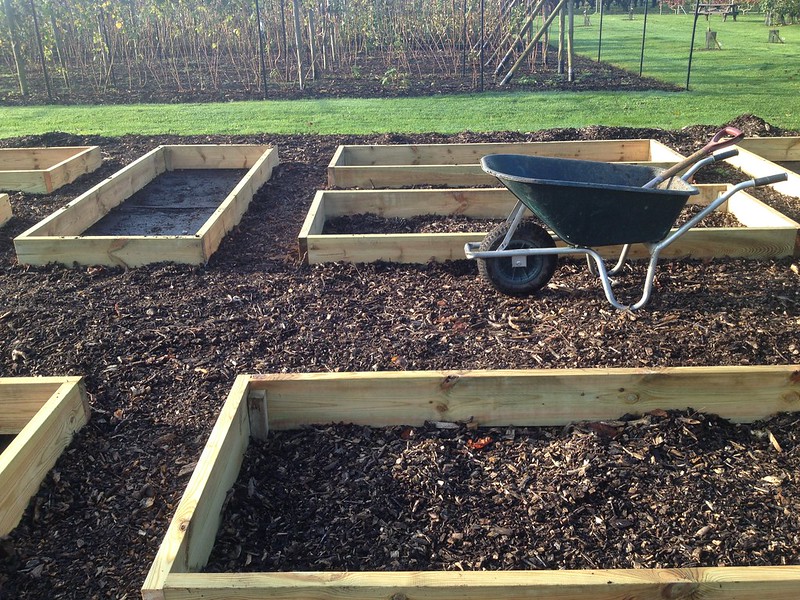
Once the beds were in place, we cleared the woodchips from the bottom, filled them with topsoil (two large lorries of it!), which was then left to settle for a while. Finally, we mixed in some compost that we produce from our garden waste.
 |
| Making room for the compost |
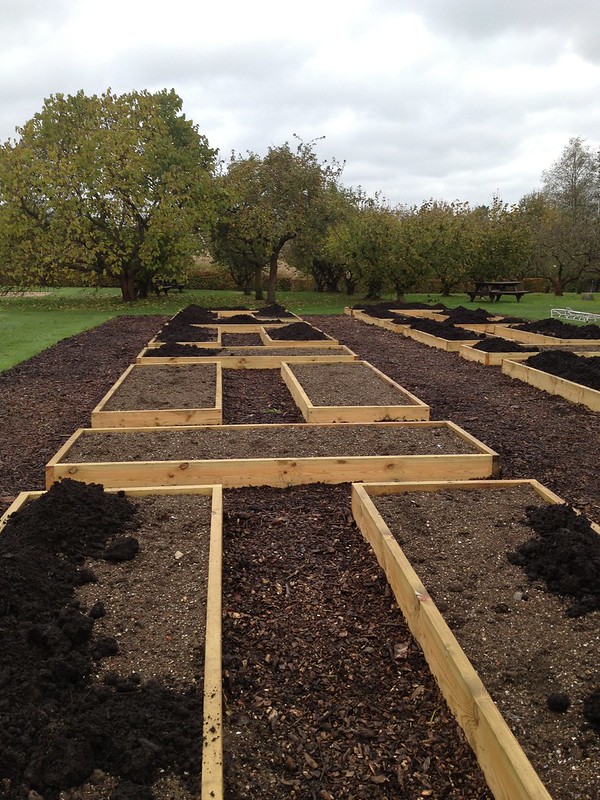 |
| Top soil settled, compost being added |
 |
| Working in the compost |
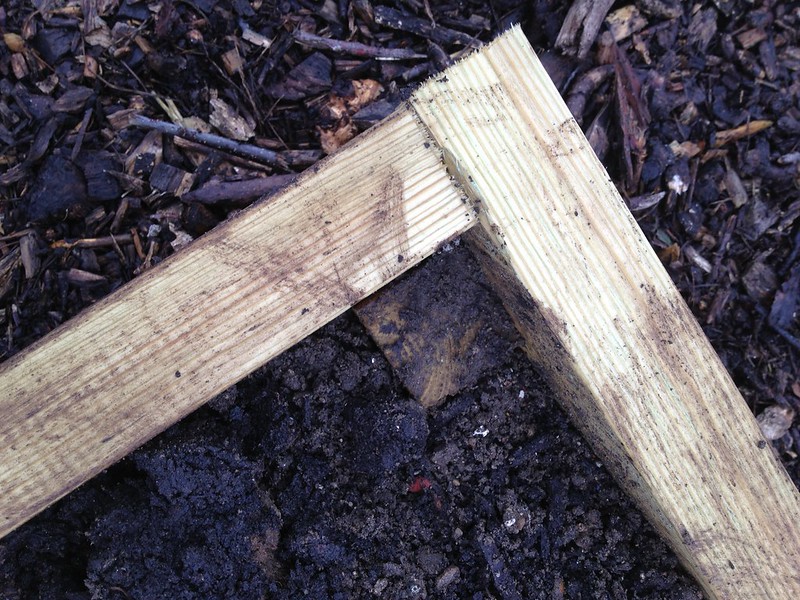 |
| Structure of the beds |
I have often wondered which is the best structure for raised beds, and I like these, they look sturdy, so I want to take inspiration formy own on the plot. The wooden planks are fixed around four posts in the corner, which were driven through the plastic membrane.
Now waiting for the spring to plant the strawberries!
Post scriptum
When you design a new planting area, it is a good idea to consider watering in some detail, possibly consulting an expert.The strawberry beds were supposed to be watered with driplines, on the soil surface, and a plan was in place. However, come the spring, and ready to put the strawberries in, the plan had to be revised for health and safety reasons: the dripline was considered a trip hazard because the paths between the beds are relatively small.
 |
| Trenches: 2 parallel and 1 joining the two, in a H shape in between beds |
So it was decided that the driplines would be connected to the mains through underground piping and we had to spend 1.5 FTE digging trenches to bury the pipes in. To be honest, it was quite quick and a less daunting task than it looked to start with, but doing this ahead of laying the beds, would have been more efficient with the help of a digger.
In any case it was extremely interesting for me to take part in this exercise, as I had never worked with watering before, and we had the opportunity to question the irrigation specialist.
 |
| Holes for dripline connectors in the raised beds |
 |
| Depth gage |
If the pipes had been mains, they would have been buried at 60 cm to avoid freezing over, or accidental damage from digging.
But because this is a secondary connection, and the beds are raised, so no digging is planned, it was possible to keep the pipes more shallow.
The beds will be planted with two rows of 8 strawberries each, a cultivar per row; cropping should start this year and pick next year. It is forecasted that plants will be replaced every other year (depending how the cultivars perform) with stock grown on site, in the nursery, from specially devoted plants. These will not be allowed to flower or fruit, so that the energy of the plant goes into producing sturdier runners.

And as of the 1st of April, the irrigation is in and so are some strawberries!
No comments:
Post a Comment