 |
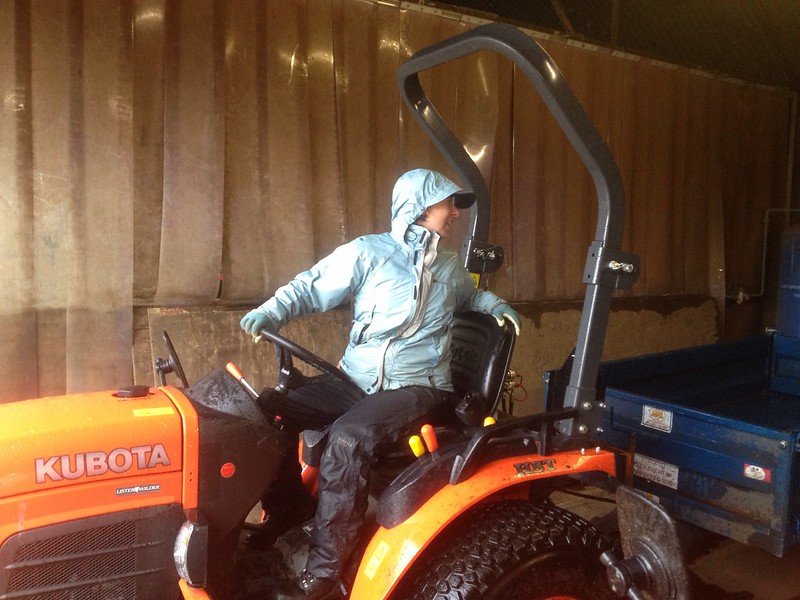
| My first tractor and trailer |
Since then, I have driven two other tractors: a middle sized one with trailer, and (quite a lot of) a ride-on mower.
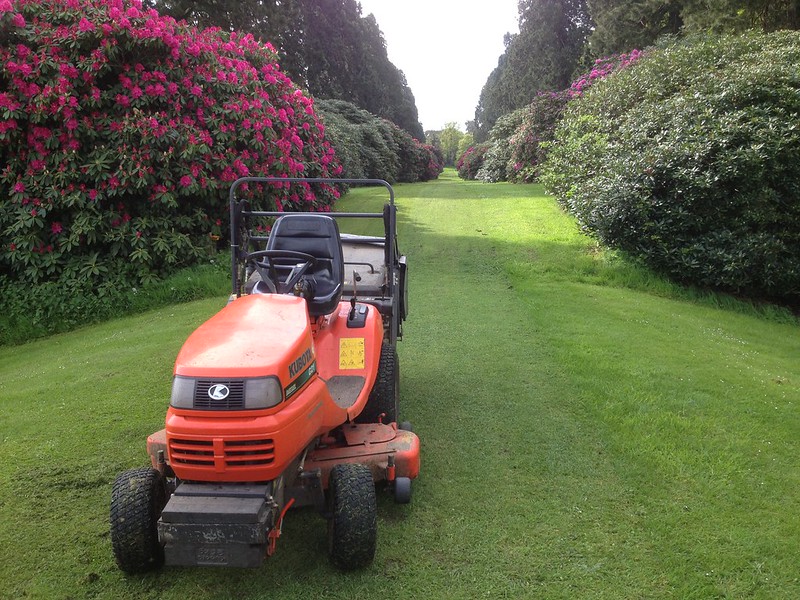 |
| Compact Kubota with mowing deck |
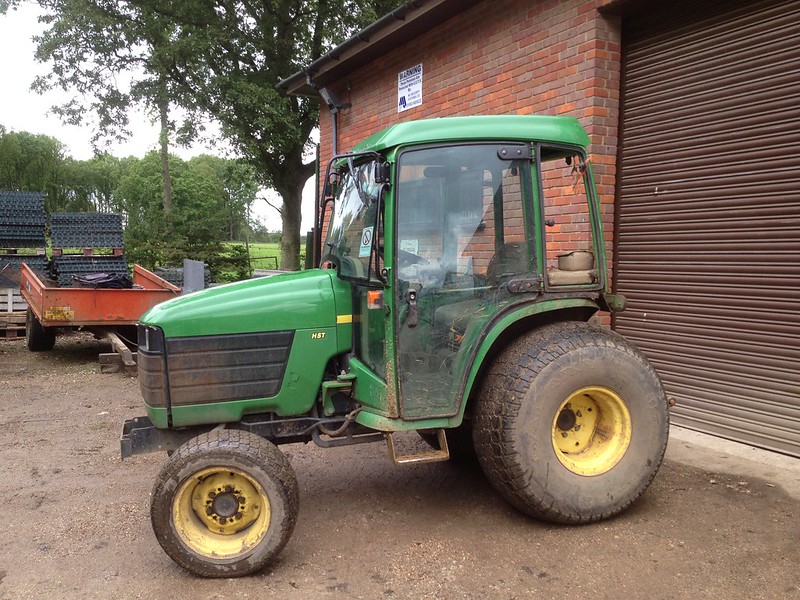 |
| Old mid-size agricultural John Deere |
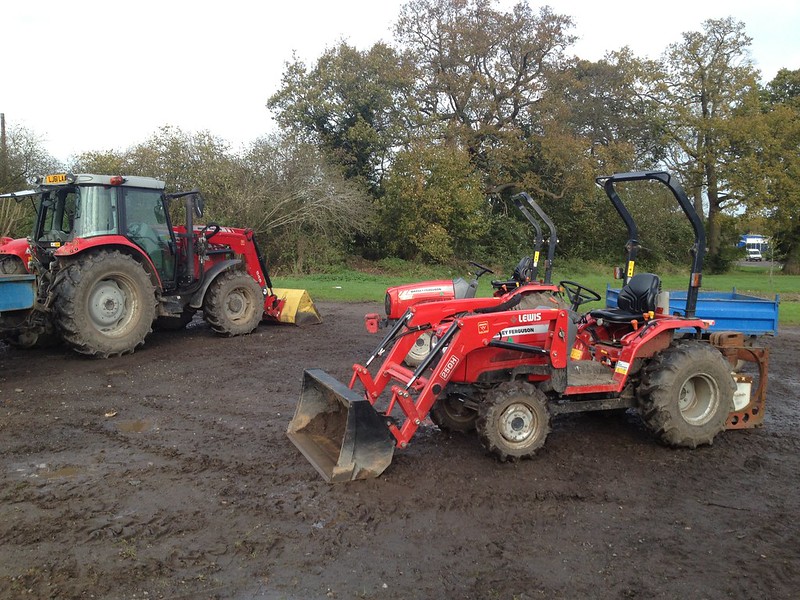 |
| Agricultural tractor; manual gear & hydrostatic compact tractors |
- Safe practices
- Forward movement
- Fore-end implements
- Mounted attachments
Safe practices
These can be summarised as:
- know your tractor and implements;
- know the area you are working in;
- maintain your machinery (i.e. greasing) & perform regular safety checks (fluids, external appearance, air intake, wheels & bolts, belts etc);
- always use a safe stop and make implements safe (when the tractor is stationary and off, lower them to the ground; when working on them, support any hydraulic or unstable equipment with ram stops, axel stands etc);
- never be around a moving tractor or in between tractor and implements; make sure nobody else is either;
- anything that rotates, is hot or belt-driven is particularly dangerous: guards serve an important function;
- the tractor is more stable the lowest you keep your implements and loads.
Agricultural and horticultural work causes some 50 deaths a year in the UK, so it's rather dangerous and the HSE has issued several guidelines, among them one on working with tractors and on working with machinery and several pieces of legislation apply:
- COSHH, Noise at Work (protection over 85 dB), Vibration at Work, Manual Handling, PPE, RIDDOR, First Aid at Work - in terms of health
- H&S at Work (safety is everyone's job), Management of H&S at Work (risk assessments), PUWER (regular checks & maintenance), LOLER (fore-end loaders and lifting attachments, not the three point linkage though), Corporate Homicide & Manslaughter Act - in terms of safety
- and, of course, the Countryside and Wildlife Act (avoid disturbance to wildlife).
Forward movement
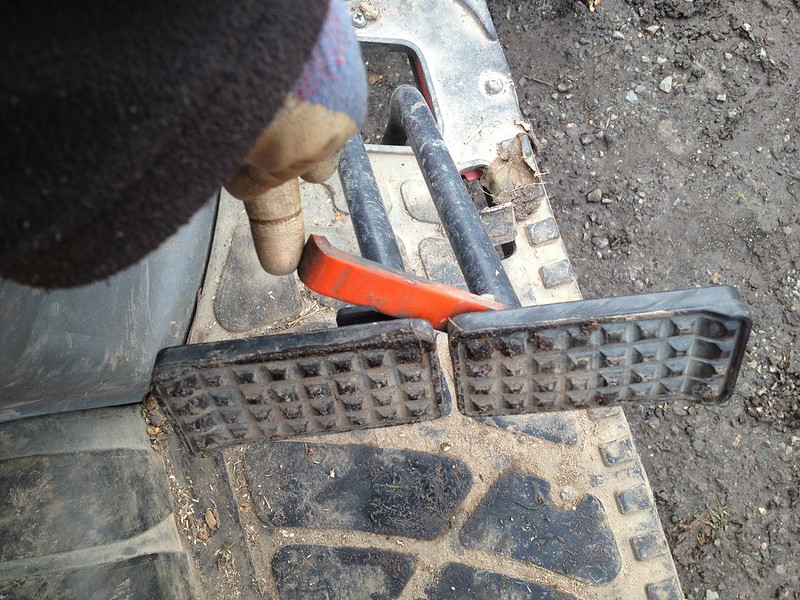
Orange is the colour (or at least there is an attempt to standardise forward movement levers and buttons on tractors).
Forward movement is determined by at least four (not always separate) controls, once you have started the engine (remember tractors are diesel engines so they have cold start key positions too and manual gear ones need the clutch pressed down to start):
- hand throttle, controls the power of the engine in the form of revolutions, which sometimesneed to be fixed to use implements; it is linked to the controls' panel tachometer where you can monitor the rpms. In the tractor we used, implements on a 540 PTO shaft needed 2300 rpms to work;

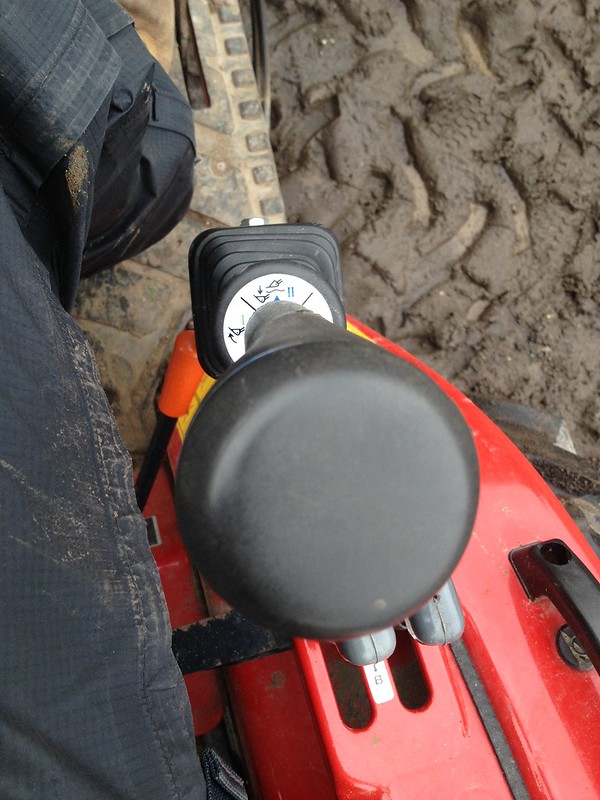
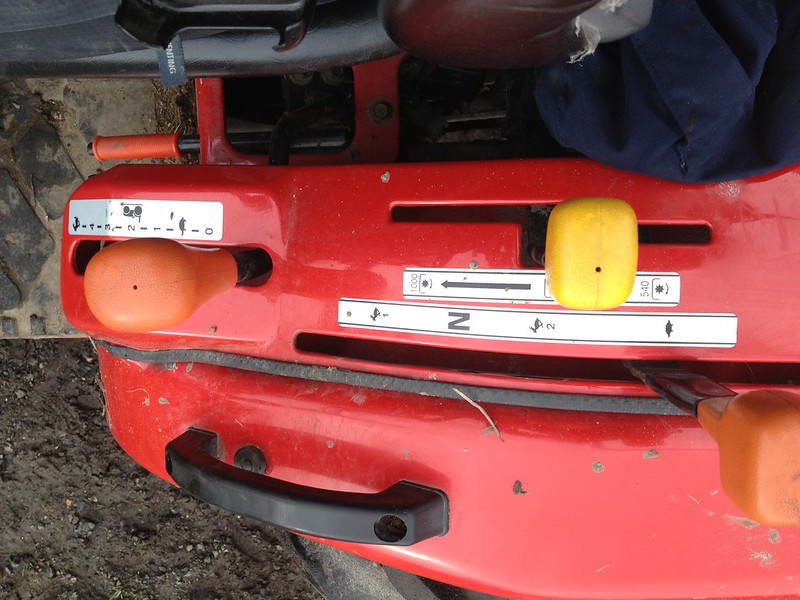 gear range: usually marked as N (for neutral), tortoise and hare(s), it set the overall engine speed;
- big tractor we used had A-D 1-4 combination of gears and a lever to choose between forward and reverse movement; the clutch was not needed to change gear but was essential for starting and braking); my favourite tractors are the hydrostatic ones (automatic) that do not have gears or clutch, but an accelerator pedal for forward movement and one for reversing (they may have cruise control, as in the picture above);
 gears (and clutch): allow a further layer of detailing the engine speed, forward and reverse (the
- pedal pushed forward or backward with the heel to reverse).
 accelerator pedal (sometimes one for forward movement and one for reversing; or the same
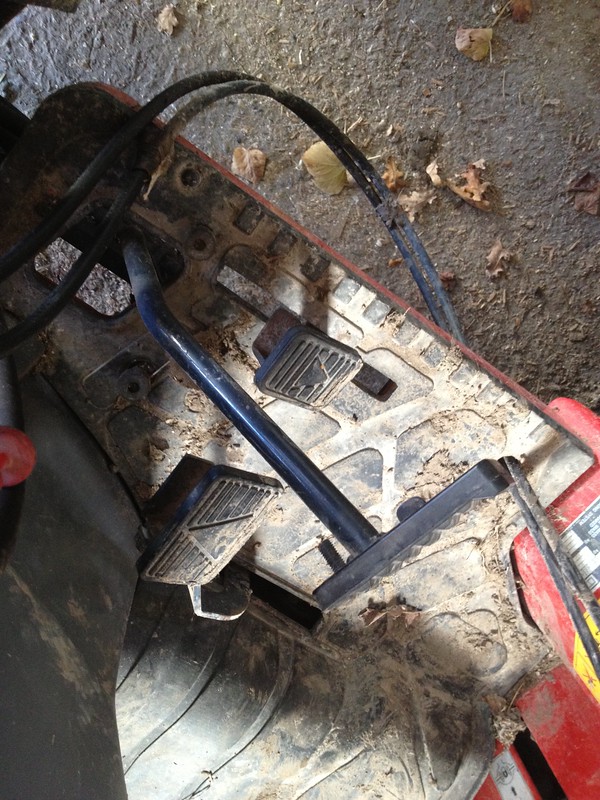
Of course brakes come in under forward movement: when a clutch is fitted, it has to be used together with the braking pedal. And of course the parking break needs always to be used in a safe stop.
Agricultural tractors often have extra features that allow for nimbler and safer movement of the wheels:
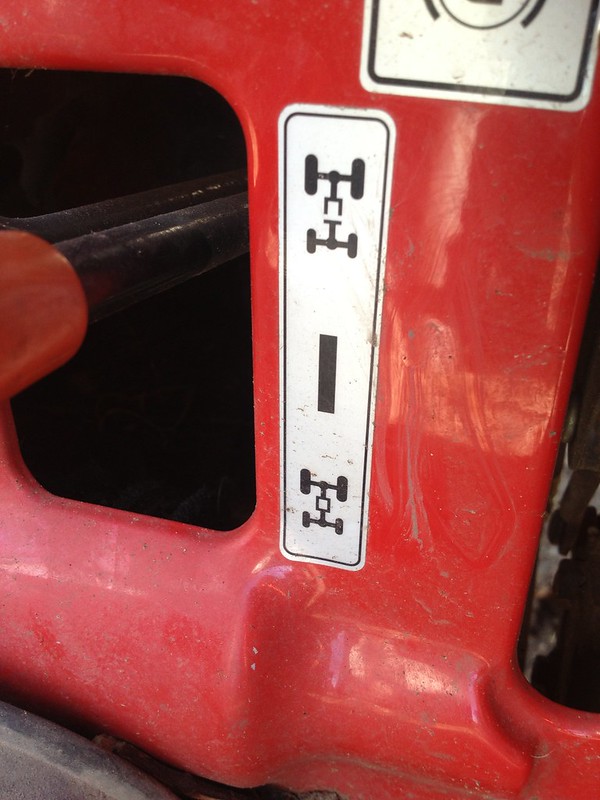 4 wheel drive, to be engaged only on uneven and steep ground rather than on hard surfaces, it gives grip to the front wheels (in addition to the rear wheels that pushes forward);
 differential lock: it engages both rear wheels in traction, to be used when badly stuck, it is in the way of turning (as that is what the differential is for);
- tight turnings. However, pedals should always be locked together when such feature is not needed, and breaks should be tested regularly to check they break in a straight line (as using them separately causes the wheels to wear out at different rates)
 independent breaks allow the operator to break on a single rear wheel at a time to perform very
- 12 o'clock position: arm down
- 6 o'clock position: arm up
- 9 o'clock position: arm curling upwards
- 3 o'clock position: tipping
Mounting equipment on the loader arm is quite straightforward, once you learn how. I filmed a little video while we were practising with a bucket: aligning the arm with it, hooking it up, then curling the arm to swing it into position.
In the small tractor, one would need to lock the bucket in place manually (which requires a safe stop), to complete the procedure, while, in the bigger one, it would lock itself automatically in place. In both cases, the lock needed manual undoing to release the bucket.
Mounted attachments
I had previous experience of mounted attachments: hydraulically powered ones, both towed (trailers with hydraulic tipping) and hitched (a hydraulic grass collector), and a PTO-powered mowing deck mounted underneath a tractor, but never of rear-mounted and PTO-driven implements.
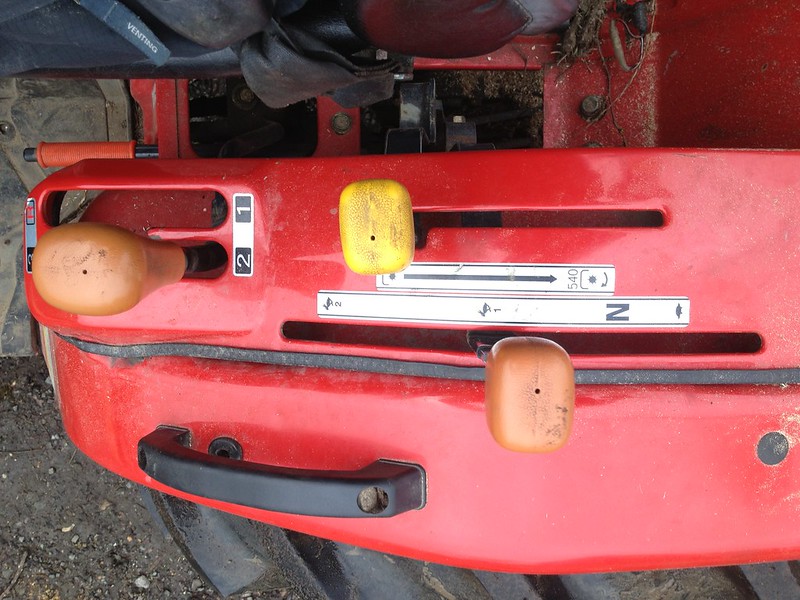
A PTO (Power Take-Off) - the shaft that distributes power from the engine to the attached implements and sticks out at the back of the tractor where attachments can make use of it - is one of the most dangerous part of a tractor. It can turn at 540 rpms (6 splines) or 1000 rpms (21 splines), depending on the tractor set up, but in either case it can cause serious harm (so much so it deserved a specific HSE leaflet) so it needs to be protected with a guard, like the other rotating parts in the tractor. It is activated by levers/buttons: yellow is their colour and the clutch (if fitted) is involved.
 |
| Handle to adjust hydraulic response (left) |
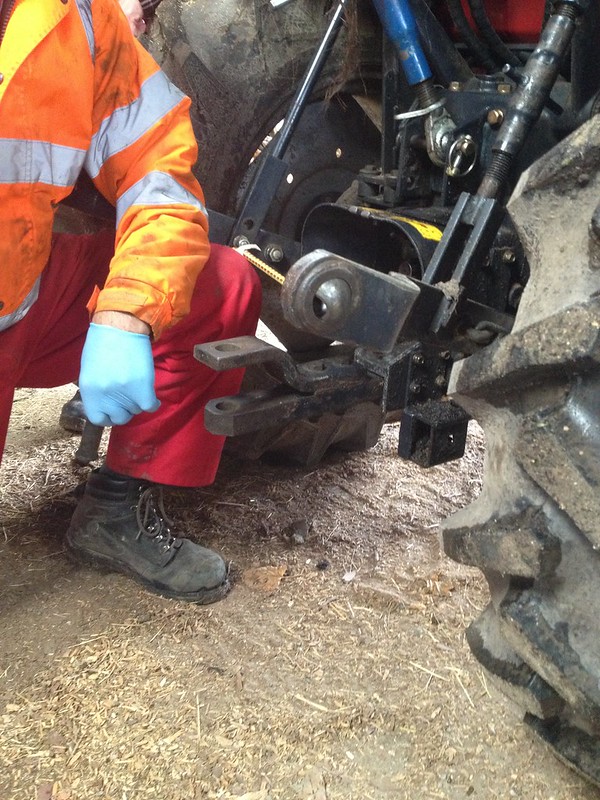 |
| 3 point linkage and drawbar |
Depending on the hitched implement, one may or may not have to remove the drawbar to avoid fouling the PTO shaft or other parts of the implement. In the case of towed implements that use the PTO shaft, one has to make sure the drawbar or pin do not interfere with it.
On one of the tractors we used, ballast was hitched on the back to counterbalance the fore-end loader, but it did not interfere with the drawbar so the latter was left in. But when we practice mounting the fertiliser spreader, we had to remove the drawbar as the first thing.
Then we proceeded as follows:
 | |
| Fertiliser spreader on the ground | |
- reversing the tractor to the implement;
- lowering the hydraulic lower links;
- attaching the implement to the fixed link by way of a lynchpin;
- attaching the implement to the adjustable lower link by way of a lynchpin;
- attaching and fixing the implement rotating shaft and guard to the PTO with a pin and restraining device (chain), to avoid that the guard rotates with the shaft;
- attaching the top link to the implement;
- raising the lifting arms so that the implement shaft was on a straight line with the PTO for optimal use of power;
- adjusting the top link so the implement was parallel to the ground (even thread uncovered, locked);
- tightening the adjustable stabilisers so that the implement did not sway side to side;
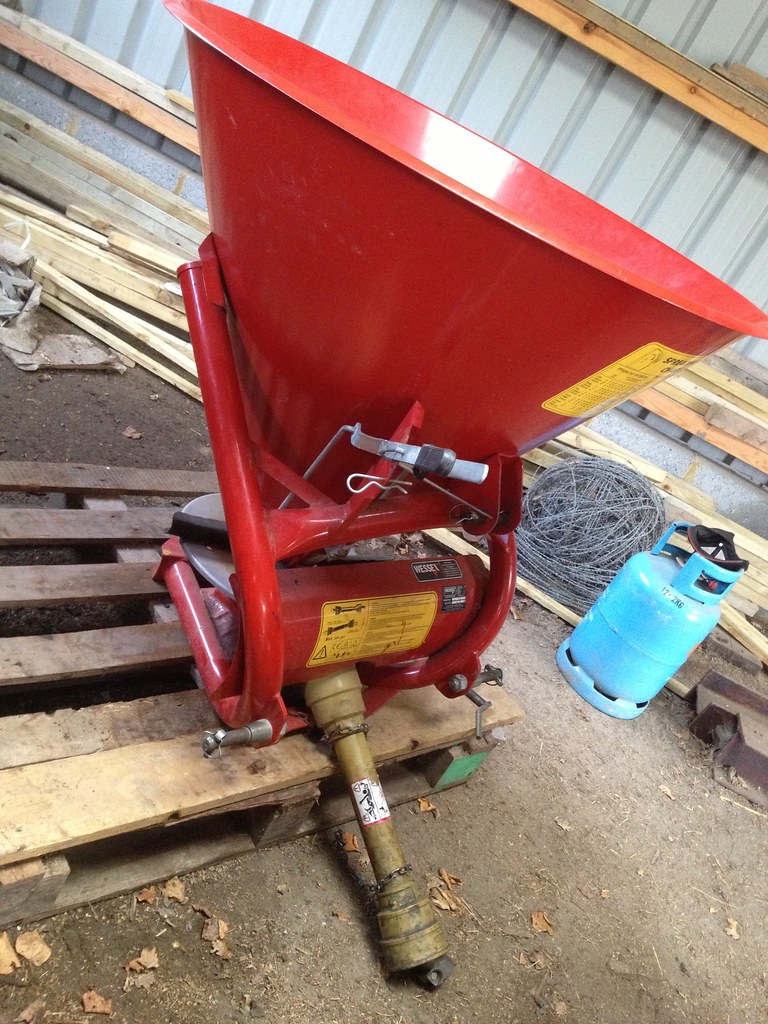
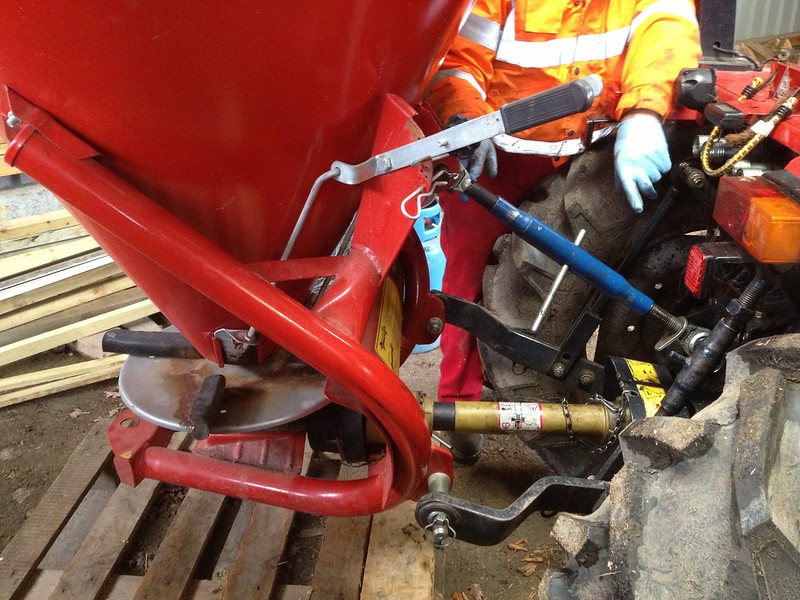 |
| Fertiliser spreader mounted |
It is of course dismounted by following the same procedure, in the inverse order.
Some modern tractors, especially the bigger ones, have sensors on the top link for a feature called "draft control": this applies to soil engaging implements, and is designed to adapt the depth of the tool around obstacles so the implement is not damaged or the tractor is not jackknifed. If there is no draft control, one can only use shallow soil engaging implements.
Oh well, now I just have to put all of the above into practice in my exam... wish me good luck!
No comments:
Post a Comment